In this article, we will help you to understand the role of a team member in a retrospective.
|
Skip Ahead to: |
Overview
The facilitator is responsible for inviting both facilitators as well as contributors to join a retrospective. The respective members get email invites and once the users click on the ACCEPT INVITE button the user has to complete onboarding. Next, the team member is directed to the Change Profile Photo modal.
Here, click the UPLOAD PHOTO button to add a profile picture and click the SAVE button.

Retrospective Process
The different steps of a retrospective process for a participant are:
Note: The template selected here is Glad Sad Mad. The working of all the other templates remains the same but the visualization differs.
Icebreaker
The first step is the icebreaker step in which the retrospective members have to select a suitable answer to the Icebreaker question. You don’t need to worry, the responses will be anonymous. Note: For every step, there is a limited time set by the facilitator in the beginning.

On submission of the responses, you get notified. Then, participants have to wait for the facilitator to move to the next step.
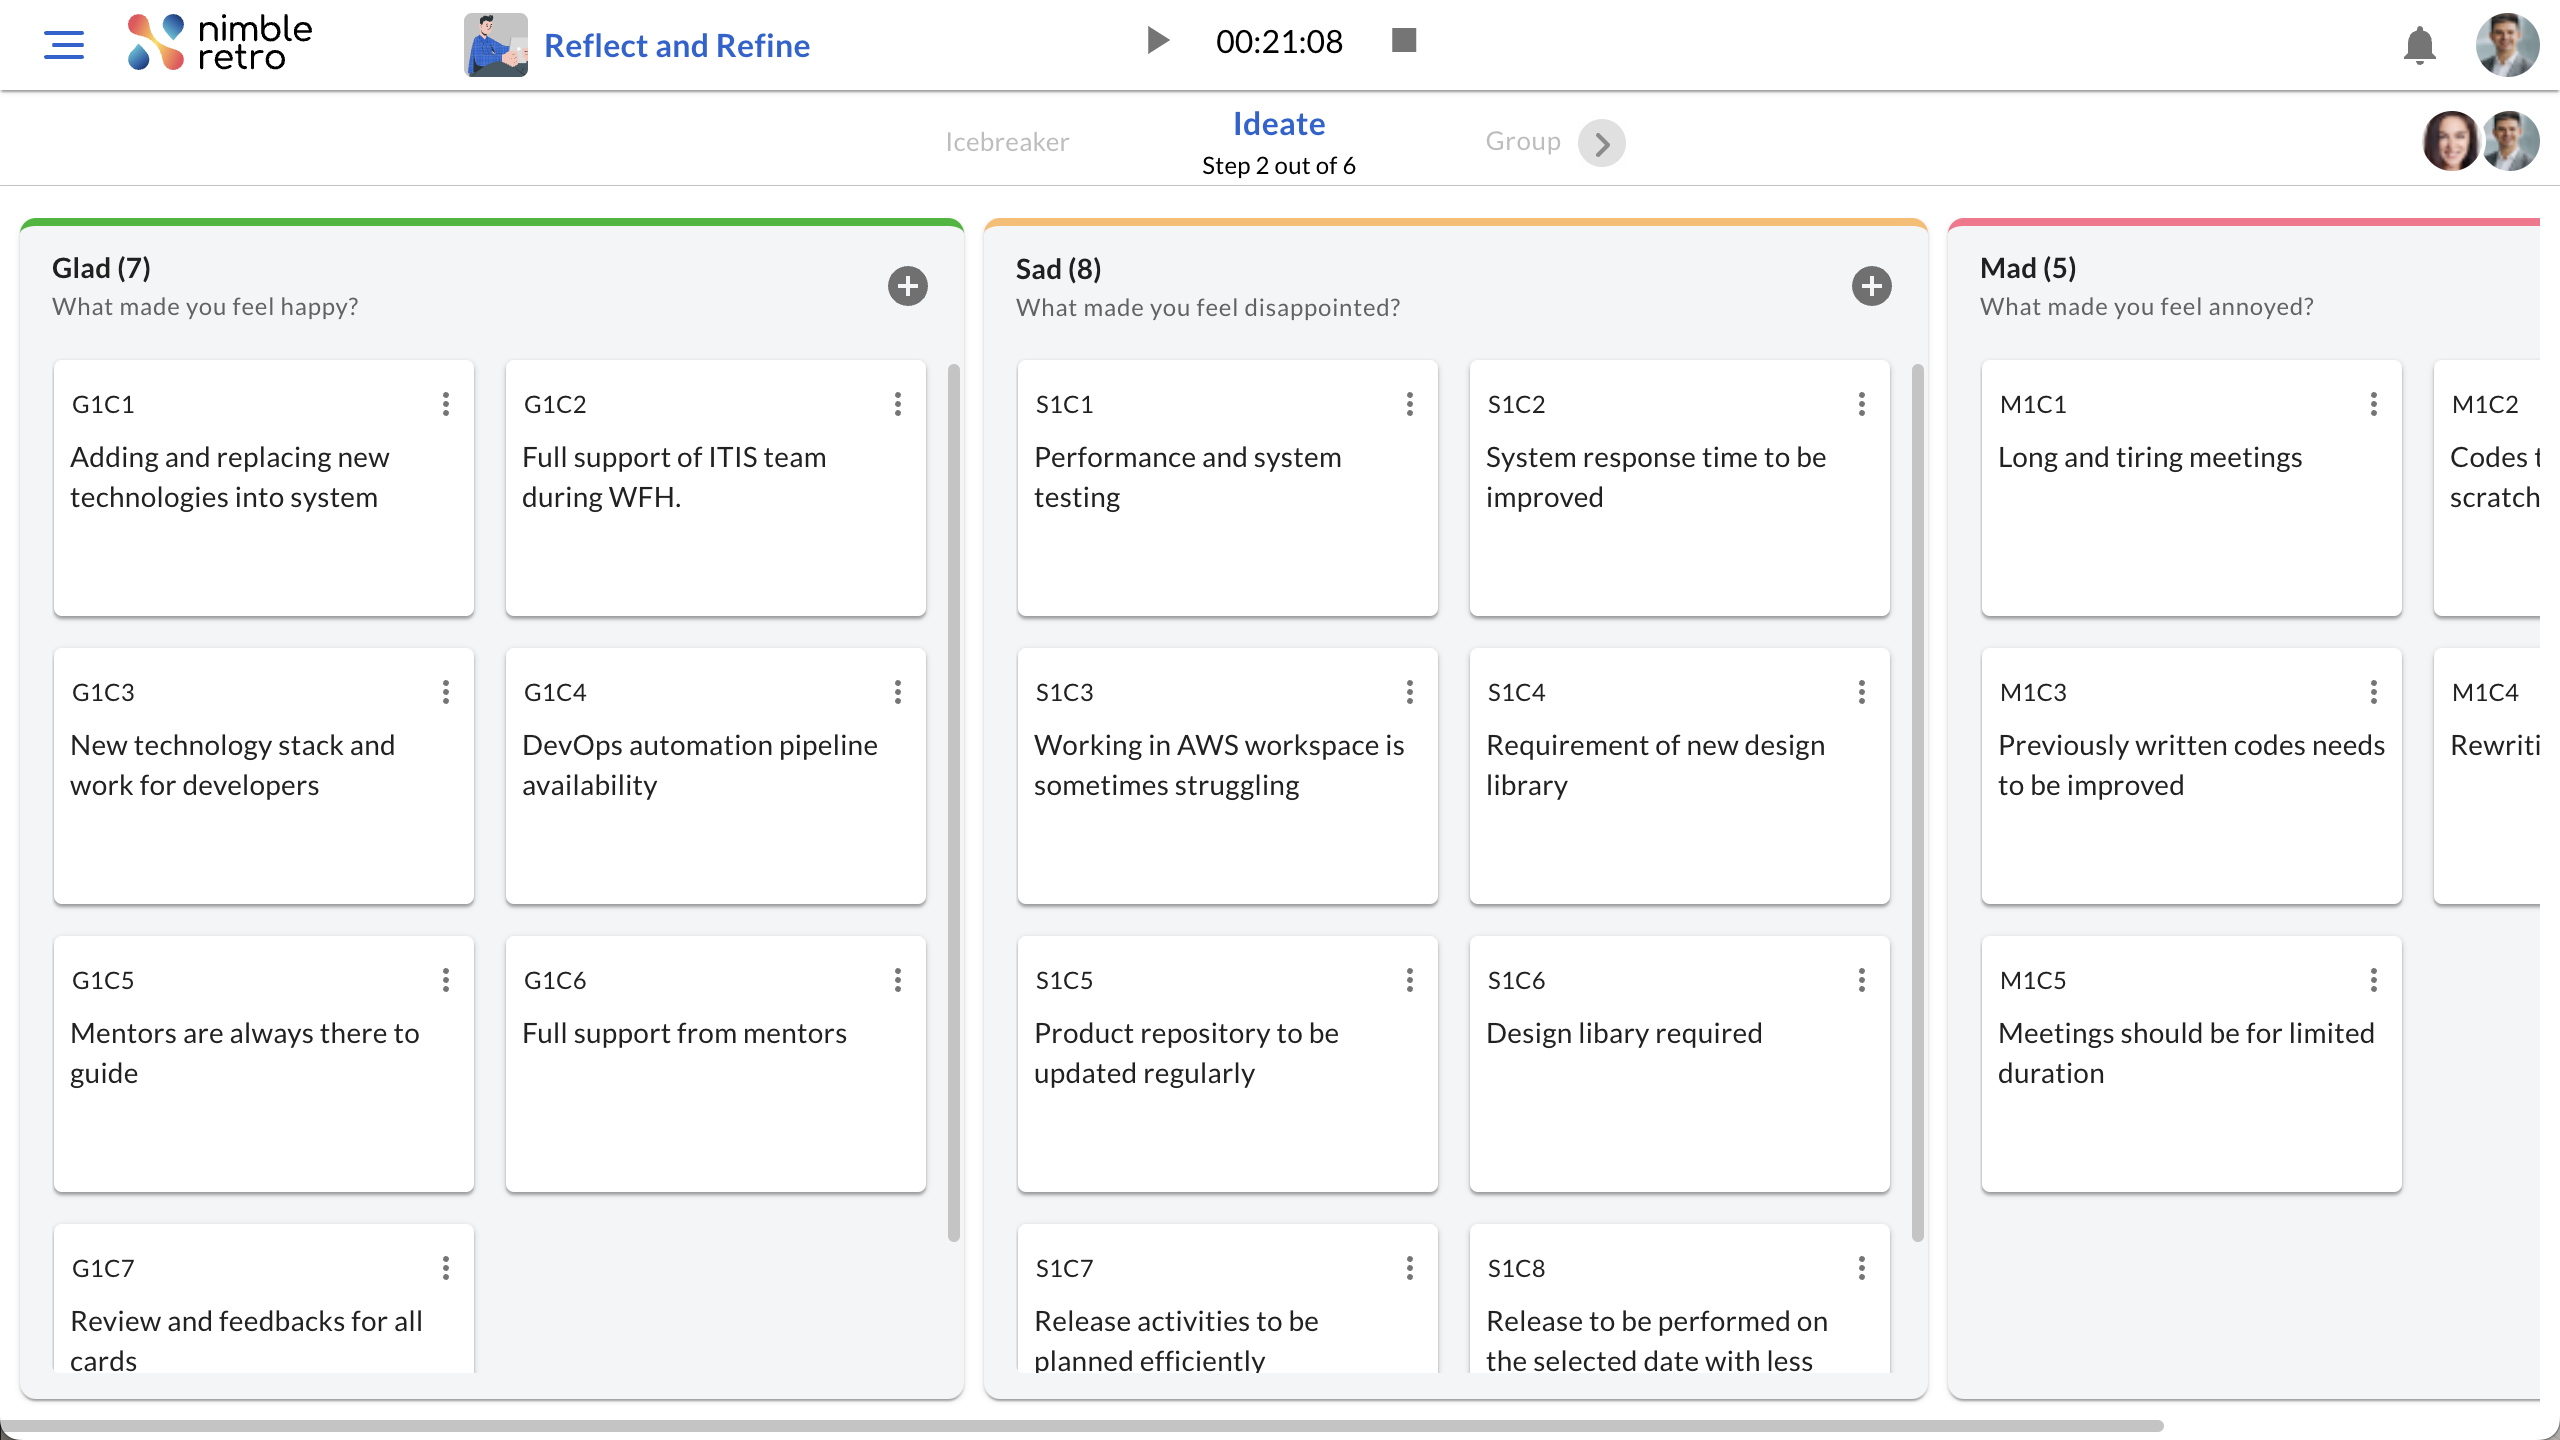
Ideate
In the Ideate step, the team members can add cards in the appropriate columns by clicking the Add icon. Well, the best thing is that they are no limits, so you can add any number of cards to the selected template. From the Overflow menu, you can easily Edit and Delete a card.
You can easily drag and adjust the width of the column for your ease.
Group
It is the third step in which the facilitator combines similar cards into themed groups such that you can have easy discussions. And the participants can only view the cards added by other members.

Once the facilitator has grouped cards, the members can view them. The facilitator sets a Cover Card for the group which is important for a discussion. To refer to the other cards in a group, you can easily toggle between the different cards.
Vote
In this step, the team members can add votes to important cards and issues that they can take up for discussion. The card with the maximum number of votes is taken up for discussion. As the participants vote, the vote count on cards would keep on increasing.

When the timer reaches 00:00:00 then a new column gets introduced named Cards to be discussed. In this column, the facilitator clicks on the Auto-populate link, and the top 5 voted cards are automatically moved to this column.
Discuss
In this step, the team members can view the Discussion and action items panel on the right. Here, the participants need to wait for the facilitator to select a card and start the discussion on the selected card. Remember that the members can only view and cannot perform any actions.
The facilitator will add a problem statement and then start adding the 5 WHYs and a root cause. Then, the facilitator adds an action item and assigns it under the Action items panel.

Feedback
The last step of a retrospective process is the Feedback stage. The main aim of this step is, to sum up, everything that was discussed in the retrospective. The members give their feedback and click the SUBMIT button. And it’s done the retro is completed!

Once the retrospective is finished, you will land on the Home screen.