In this article, we will help you to get familiar with the Workboard.
|
Skip Ahead to: |
Overview
In this article, we will help you familiarize yourself with the Workboard and the different actions you can perform. The Workboard is specially designed for users to track their action items and add new action items. You can also assign action items to other users. Now, you won’t be missing any action item assigned to you.
Navigation
To navigate to the Workboard, go to the left navigation panel and click Workboard. Here, you get a complete visualization of your actionable items that facilitates the continuous delivery of work by defining the flow of the cards from the To-do to Done column.
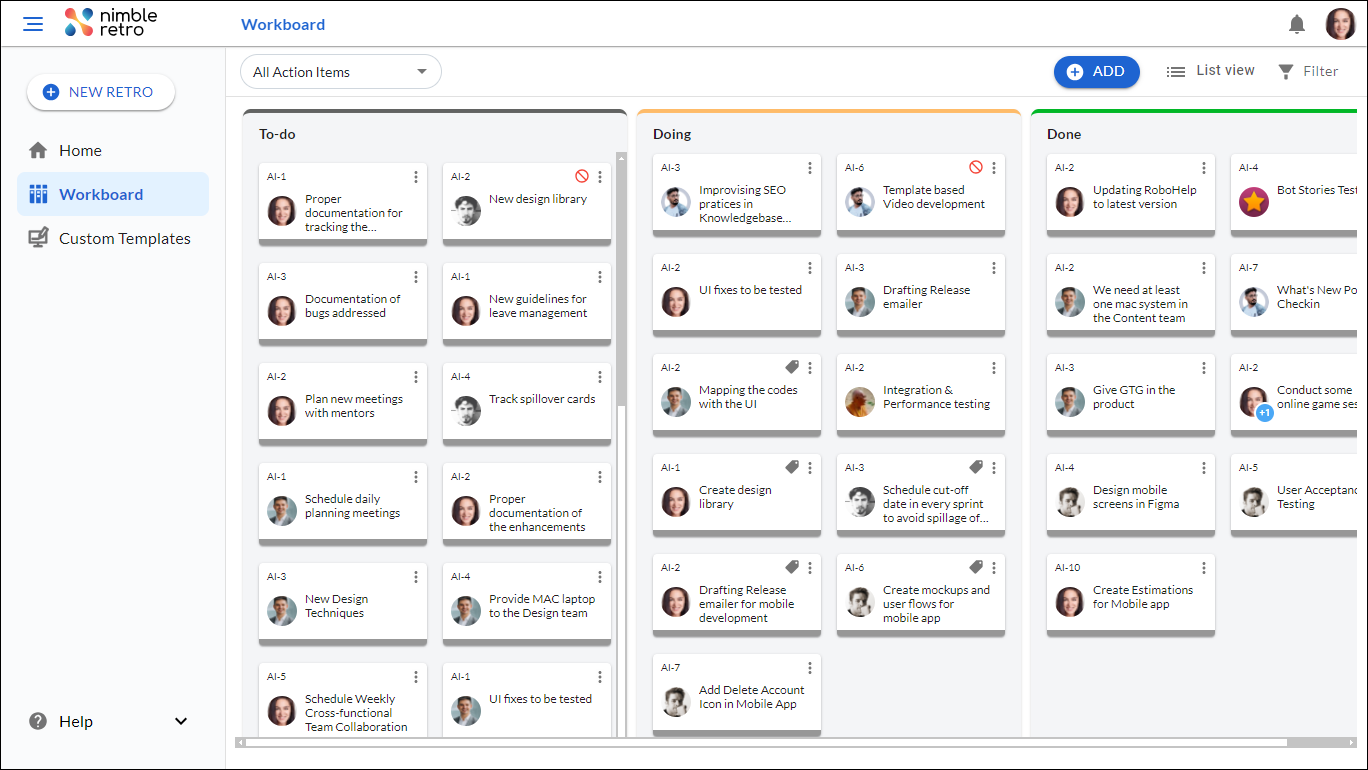
Add an Action Item
To add an action item on the WorkBoard, follow these steps:
- On the WorkBoard screen, click on the ADD button.
- In the New Card modal, select the retrospective for which you want to create a card.
- Then, select a user to assign the card to them.
- Give an appropriate title to your card.
- Add a description that best describes your card.
- Then, add relevant tags to your card.
- Next, select a column in which you want to add your card. Select any column To-do, Doing, or Done.
- Select the priority value as Critical, High, Low, or Medium.
- Lastly, add a Due Date to the card.
- Click the SAVE button.

Then, the new card will be added to the desired column with the values selected by you. When you assign to a user, the user gets notified in the Notifications panel that an action item is assigned to them.
To get acquainted with your cards and the different actions you can perform on your cards, refer to How to View Cards on WorkBoard.