Start with the video first to get a better grasp of the topic!
|
Skip Ahead to: |
You can add, rearrange, edit, or delete widgets on the Analytics page. You can also sort the widgets as per their size or resize all widgets. The actions that can be performed within a page are:
Viewing Page Information
From the Analytics Landing Page, open the required analytics page. Right below the page name, the number of widgets added to the page is displayed.

Navigating between pages
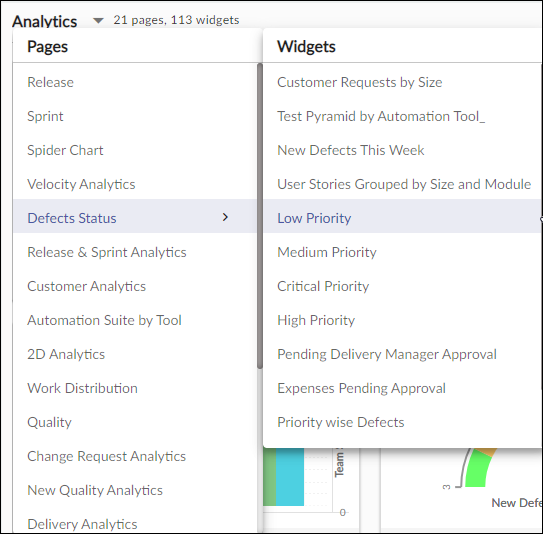
From any page, you can navigate to another page by clicking the down arrow icon next to the page name. This will display all the pages in a drop-down list from which you can select the page to which you want to navigate. Hovering over the page name in the list shows the list of widgets on that analytics page. You can select the widget name to navigate to the particular analytics widget.
Note: The widgets appear in the list in the order they have been created.
Adding and Renaming Widget
To add a widget:
- Open the analytics page and click the Add Widget icon. It will open the Analytics Builder.

- You will see a set of charts grouped together as per their business purposes. Select the type of chart that you want to add. Read about all the chart types on this page. It will open the setting page of the selected widget.
- Specify the settings on the page like widget name, data criteria, date range, and other applicable settings.
- Click the SAVE button.
Arranging Widgets on a Page
By default, the widgets are ordered in the sequence it is added and the default size of the widgets is medium. However, you can alter these as per your requirement.
Repositioning Widgets
You can rearrange widgets on a page as per your choice. To rearrange a widget, hover on the widget name and as soon as the icon appears, drag it to the required position.
The first widget on a page is selected as the face of the page card that is displayed on the analytics.

Resizing Widgets
You can resize the widgets on the analytics page as per your requirement. To resize a widget, hover over the widget. The resizing arrow appears in the bottom right corner. Drag the resizing arrow to any width or length as per your convenience.
Viewing Carousel View
The carousel view is a full pop-up view that shows the chart, table, and legend together. To view the carousel view of all the widgets one by one, click the Open Carousel View icon on the page and see the full pop-up view of all the widgets under a page. Also, navigate through different widgets of that page either by clicking the forward/backward arrows or the carousel dots.

Exporting Analytics Data
You can export the analytics charts and tables in an Excel, Word, and PDF file to share them with other people. To export the Analytics page, perform the following steps –
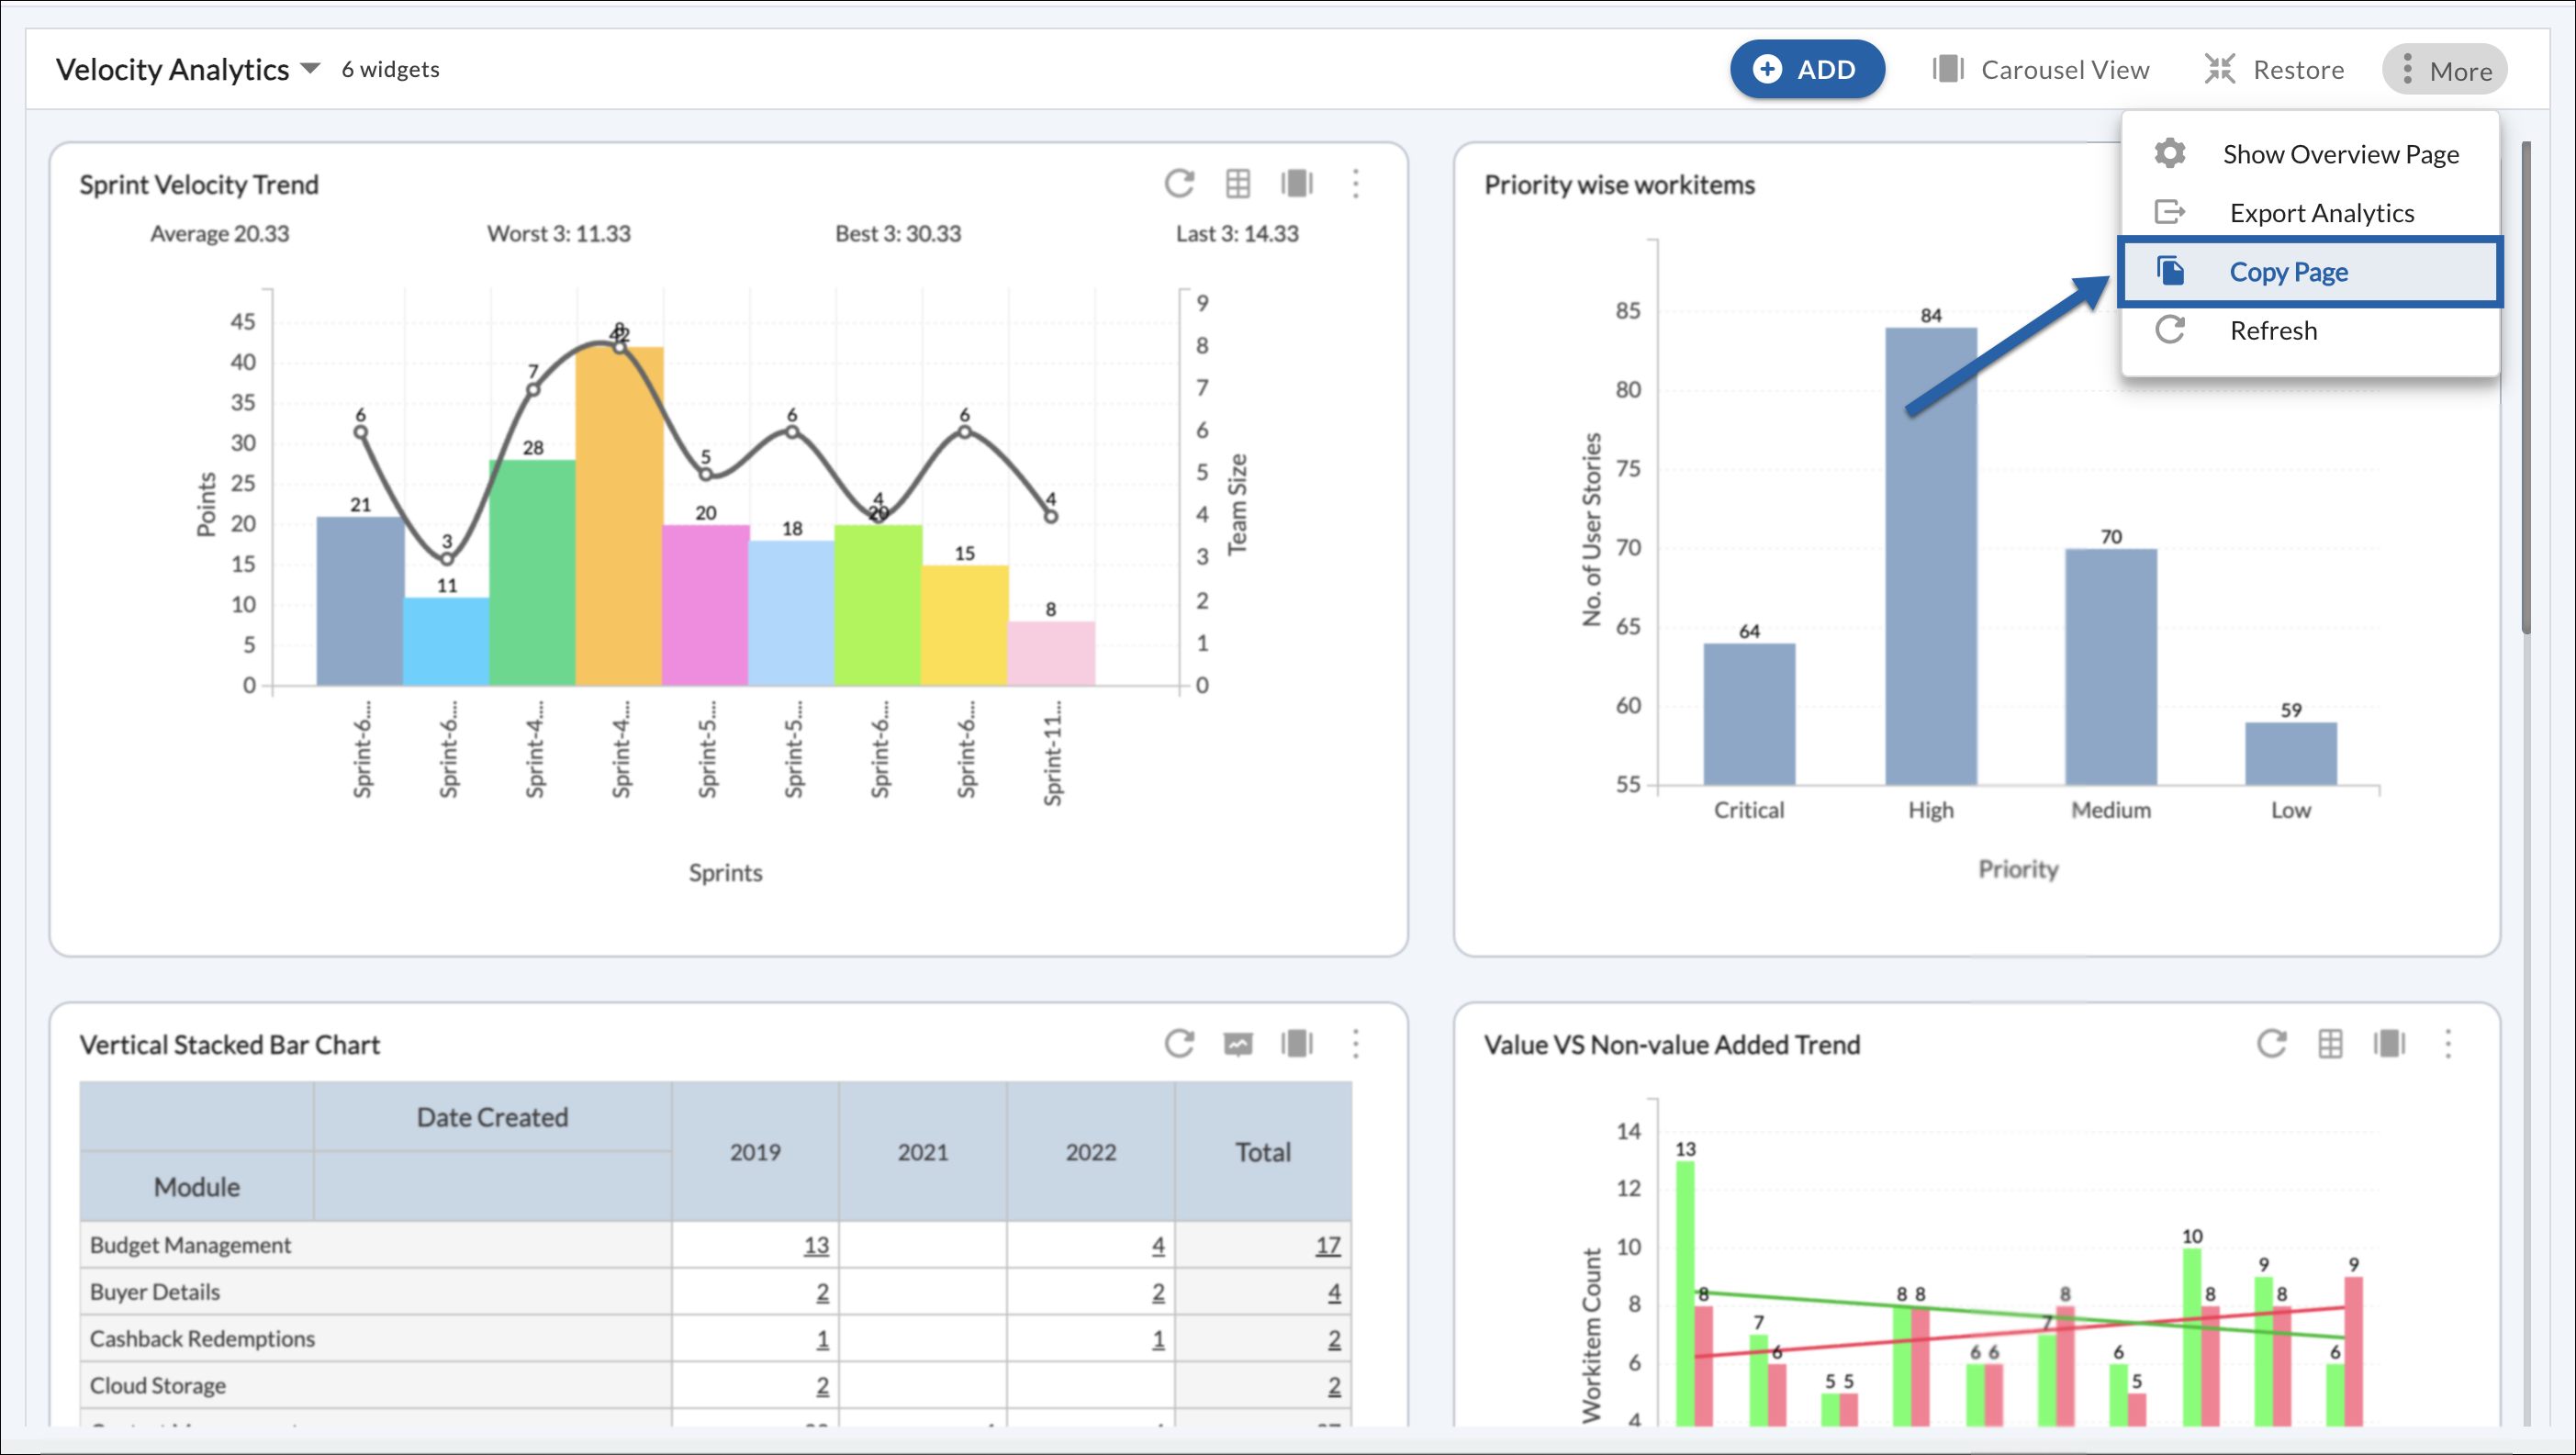
- Open the required Analytics page, and click the More Options icon on the top-right corner of the page.
- Select the Export Analytics option from the list. The Export Analytics dialog box appears.

- Select the file format for your export data and click the EXPORT button.
Refreshing Data on Page
To refresh the Analytics page, click the More Options icon and select the Refresh option.
Copy Page
You can copy an existing dashboard page to reuse the same layout and widgets without recreating them manually. This helps users save time when creating similar dashboards across projects, ensures consistency in dashboard configuration and metrics, and supports standardized reporting across teams and projects.
How it works:
- Open the required project that contains the Analytics page you want to copy, and navigate to Analytics.
- From the list of Analytics pages (if available), click on the Analytics page you want to reuse.
- From the Analytics page’s More Options menu, select Copy Page.
- Choose one of the following options:
- Copy within the same project (current project), or
- Select another project from the list
- Select the required project and click COPY.
- The copied page is created with the same widgets, layout, and configuration as the selected project.
Note: Widget data is refreshed based on the target project context. After copying, you may need to adjust widget settings (such as date ranges, filters, or project-specific attributes) to align with the selected project. For example, a copied widget configured with 2024 date ranges may need to be updated to reflect 2025 data in the target project.
Important considerations
- Copying pages is supported only for projects within the same contract.
- Access to the target project is required to complete the copy action.
- Some widgets may display different data if the required attributes or workitem types are not available in the target project.
Best Practices
- Review widget filters after copying a page to another project.
- Use consistent naming conventions for copied pages to avoid confusion.
- Verify access permissions before sharing dashboards across projects.