
This article describes Task Modes and Task Mode Options in the context of advance scheduling.
|
Skip Ahead to: |
Task Mode
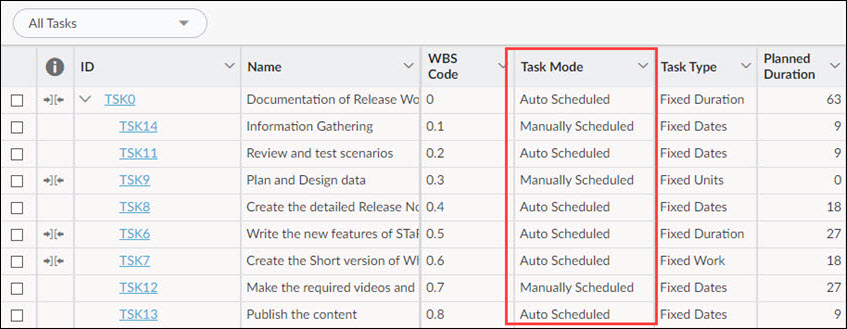
Advance Scheduling gives you the option to schedule a task manually or automatically. This enables you to decide how you want to control the task scheduling in your project. When you create a new task, by default they are automatically scheduled with the Start date, Finish date, and duration of the task. The dates of the automatically scheduled tasks change according to the dependencies, constraints, and other factors applied to the task. The scheduling of these tasks is taken care of by the scheduling engine.
In other words, the automatically scheduled tasks with valid dates and links/dependencies are automatically drawn by the project.
However, you can change the task mode a task from “Automatically scheduled” to “Manually scheduled” while creating it. The manually scheduled tasks are defined manually by the user. A project never changes the dates of the manually scheduled tasks. Even if you apply dependencies on the manually scheduled task, their dates won’t change as per the predecessor’s finish or start date. This applies to all the task types.
Note: The Task Mode option is only available in Advanced Scheduling.
Steps to Change the Task Mode
To change the scheduling mode of a task –
- Select the task in the Task Plan.
- Select the task and from the Task Mode drop-down list, select the Auto Scheduled or Manually Scheduled option.
Note: You can also change the scheduling mode from the task’s Detail view.