This article will help you to familiarize yourself with how to integrate Nimble with Zapier.
|
Skip Ahead to: |
Overview
Have you ever wanted to automate the creation of a workitem in your Project based on an email or calendar invite you received? Ever wondered, if there’s a way to avoid copying and pasting data from other applications to the application for creating or modifying a workitem. With Zapier integration, now you can do just that. Zapier supports over 2000 applications – and Nimble is now one of them!
For example, you can automate a few actions in the product like the workitem is automatically getting added every time you receive an email from your users for an enhancement or defect.
All these are possible when you integrate Nimble with another application via Zapier and create a Zap to automate repetitive tasks.
The product’s app in Zapier includes various Actions. To know more about Zapier and how it works, click here.
NOTE: If you use Zapier as a connecting app between Nimble and another product for a specific card type within a project.
Connecting Your App to Nimble with Zapier
Whenever you try to connect an app with Nimble using Zapier, you need to create a Zap. To create a Zap, you can use any of the Trigger Events, Action commands to act on the product via Zapier. Begin by performing the registration process for Zapier. To know more about registration,actions, andtriggers, click here.
Triggers: A trigger is an event in an app that starts the Zap. Once you set up a Zap, Zapier will monitor the app for that event. For example, you want to set up a Zap that sends a direct message in Slack to yourself every time you receive a new email in Gmail. In this Zap, the trigger is the new email in Gmail. To know more about triggers used in Zapier, click here.
Actions: An action is a job your Zap performs when your trigger event occurs. For example, when you receive a mail on Gmail, you can set your zap to create a card on Nimble as soon as you receive an email from a specific mail ID. To know more about actions used in Zapier, click here.
To understand the steps in connecting Nimble with Zapier let’s consider the following scenario: Use the Create Workitem Action to automate creating a workitem in the product whenever you receive a new Gmail and mark it as Starred.
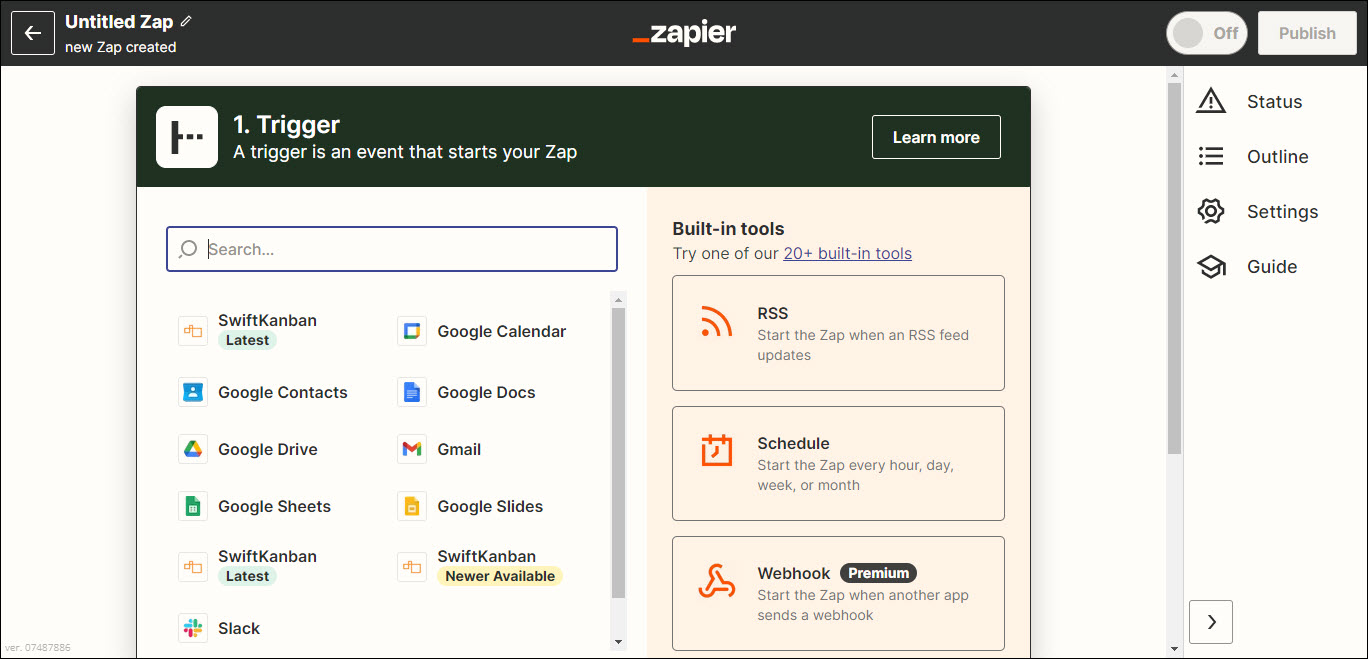
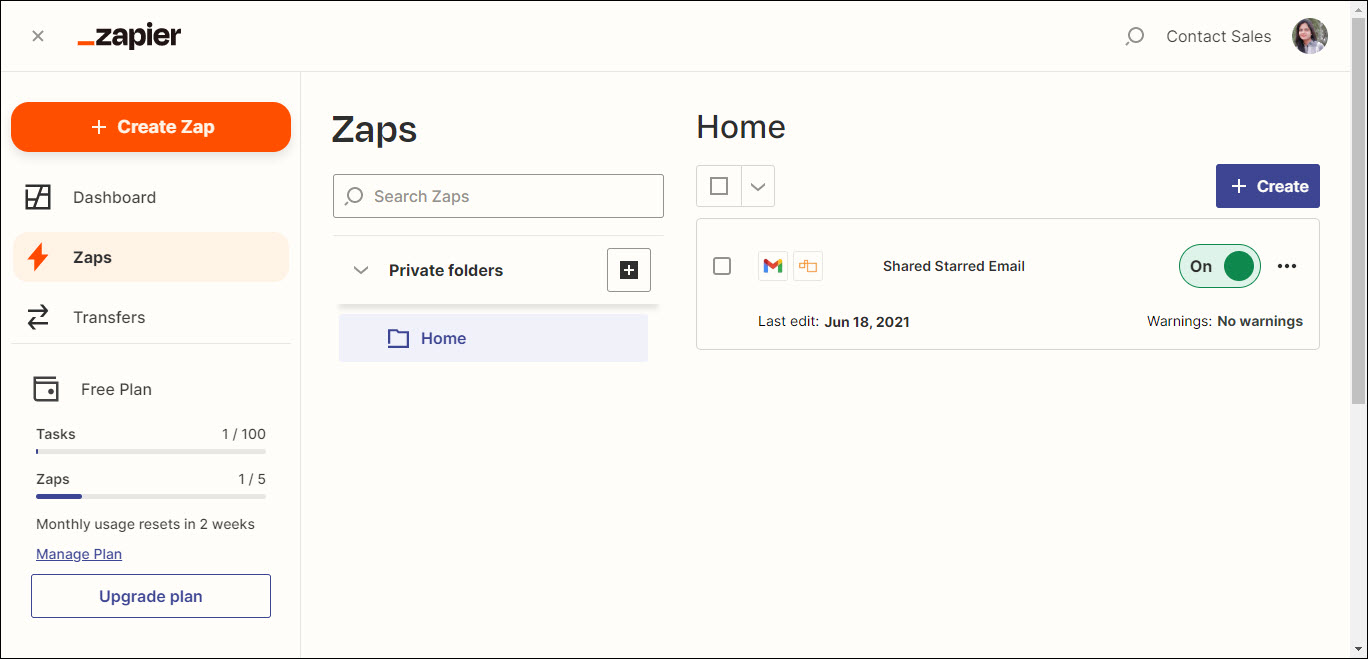
- Sign in to your Zapier account and click the Create Zapicon on the left sidebar tool.
- Name your Zap at the top (Like Creating Workitems in the product for new Gmail received and star marked as mentioned in the screenshot below) and select the app with which you want to connect the product’s app.

Note: The first app that you select is known as Trigger i.e. from where we need to fetch the inputs. To know more about the trigger, see click here.
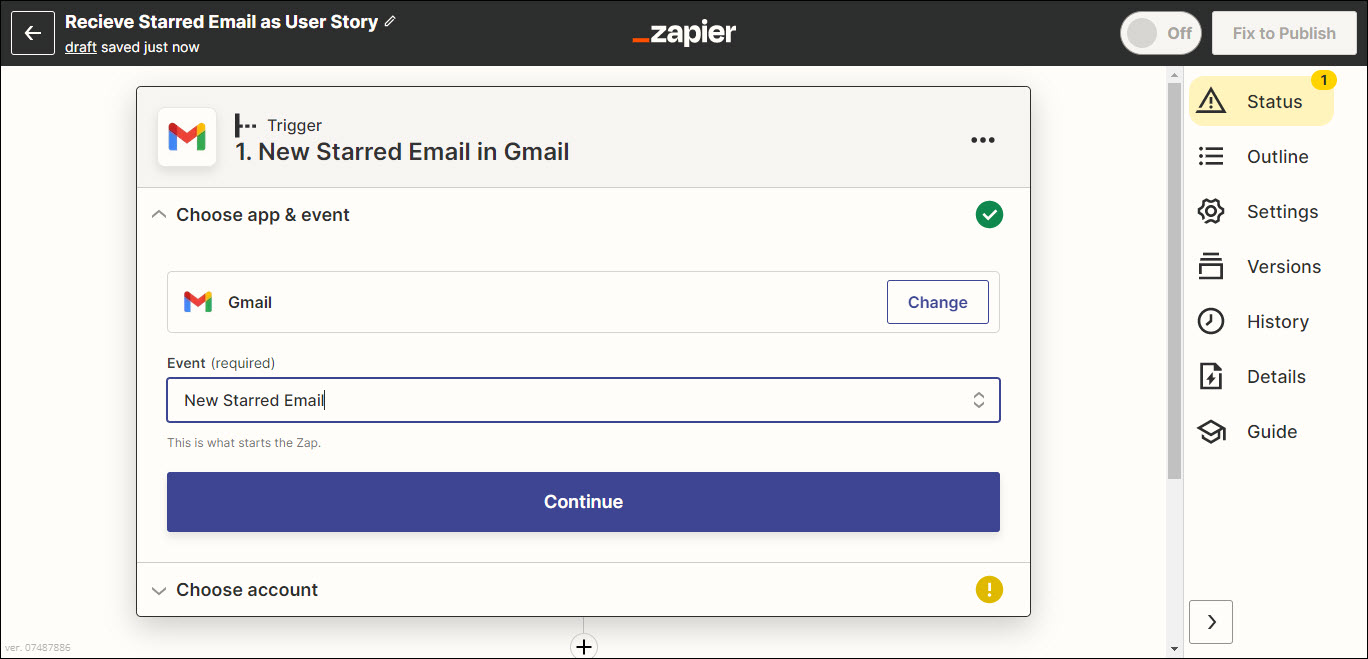
3. Next, select the Trigger event i.e. when this zap should work. In terms of Zapier, it is the “event in an app that starts your Zap”. In our example, we select Gmail as the App and Trigger event as New Starred Email and click Continue.
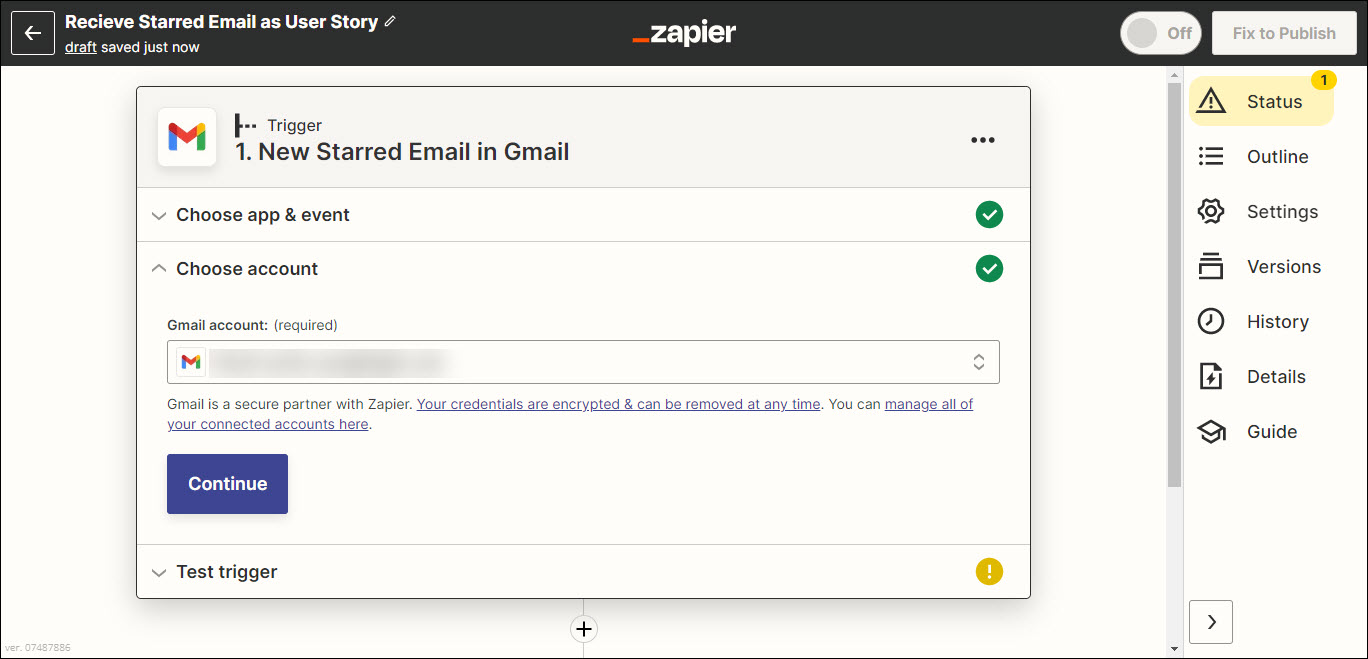
4. Then, add your Gmail account and click the Continue button.
5. Next, Zapier will take you to the Test your trigger step where it will perform a test on your trigger. Click Test Trigger.
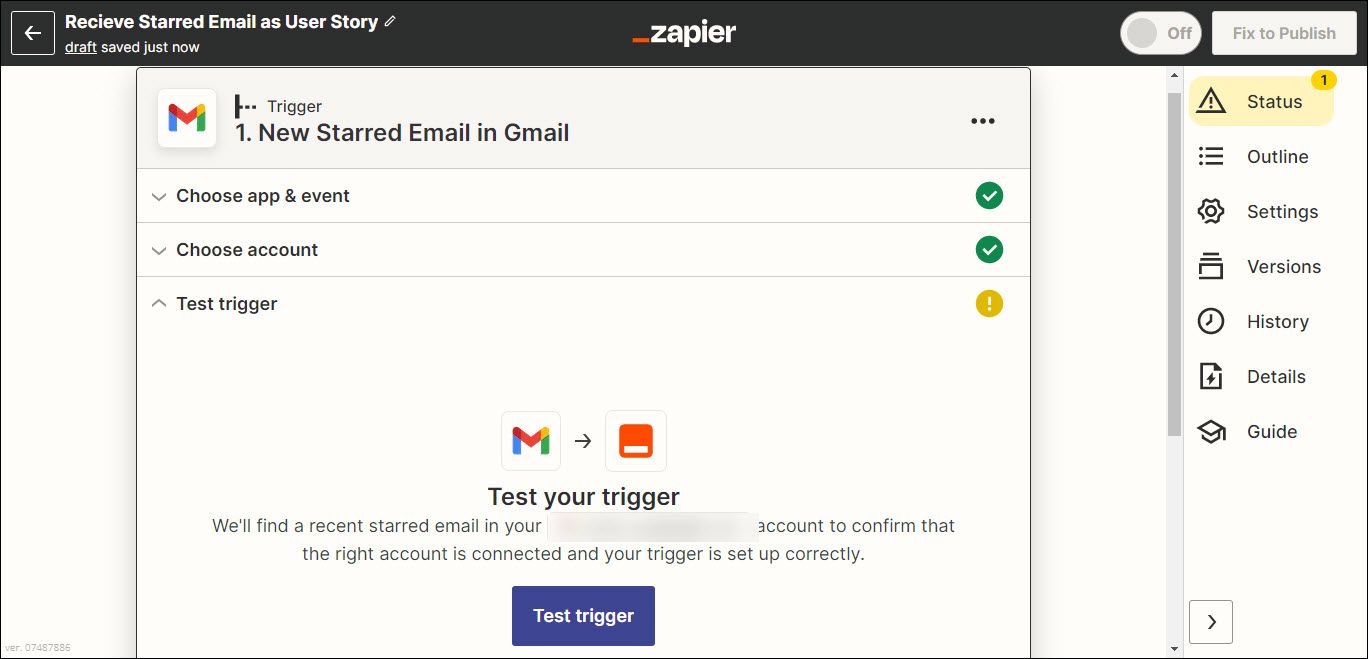
6. Once the Test trigger step is performed, the Zapier test for a starred email in your Gmail ID and check if the trigger works as per your steps. Next, click Continue and proceed ahead with adding an Action event.
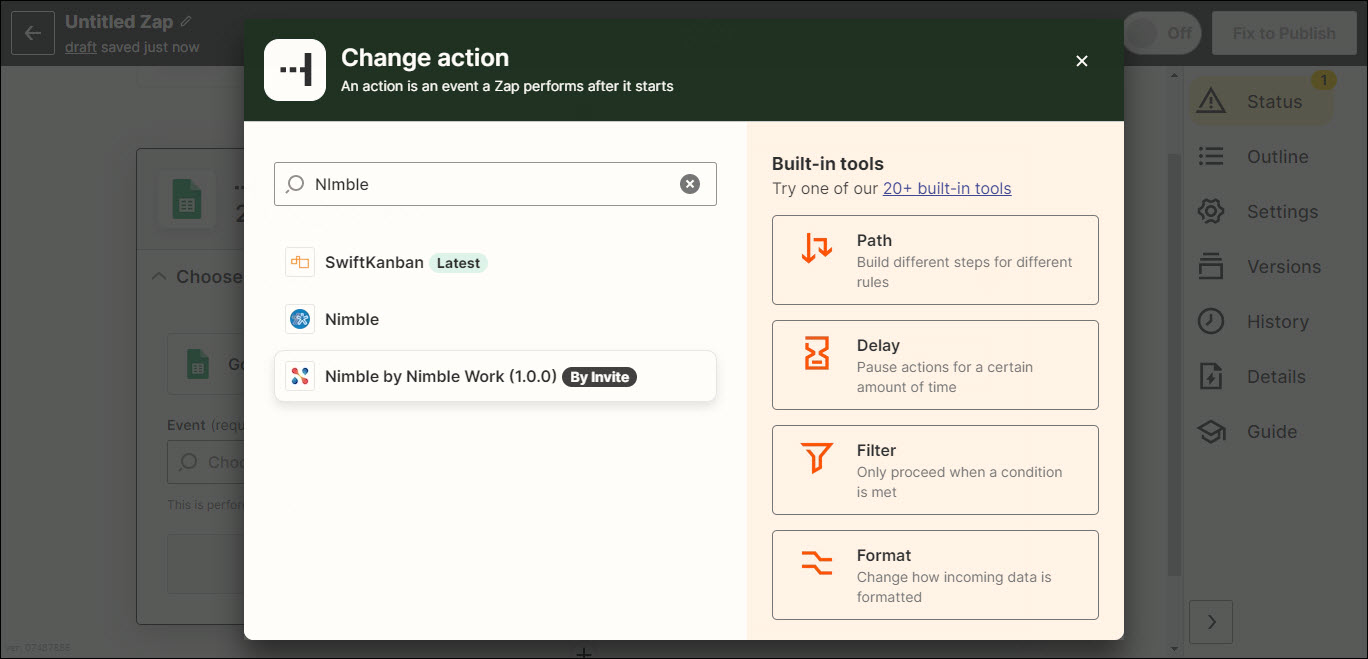
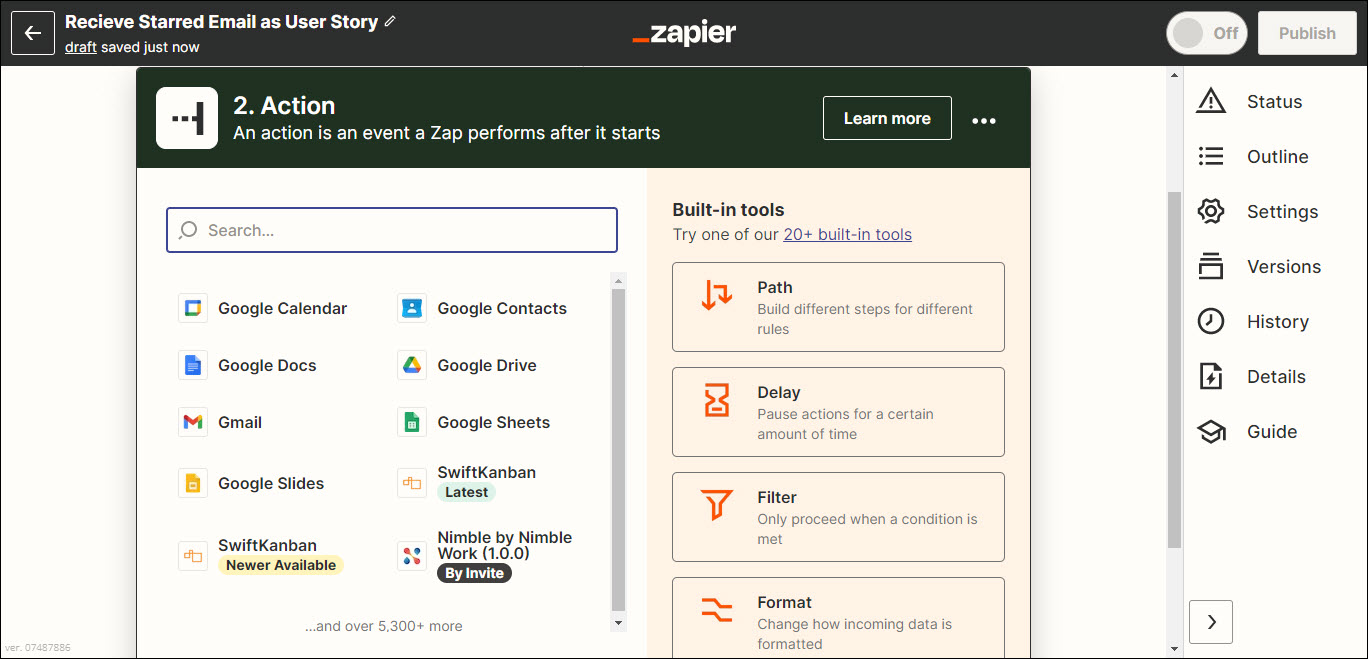
7. In the second section of adding an Action event for the Zap to perform after it starts, search and select the product’s App from the available options.
Note: If you can’t find out the product in the apps, please contact your Zapier Support Team to ensure the product has not been blocked in your account.
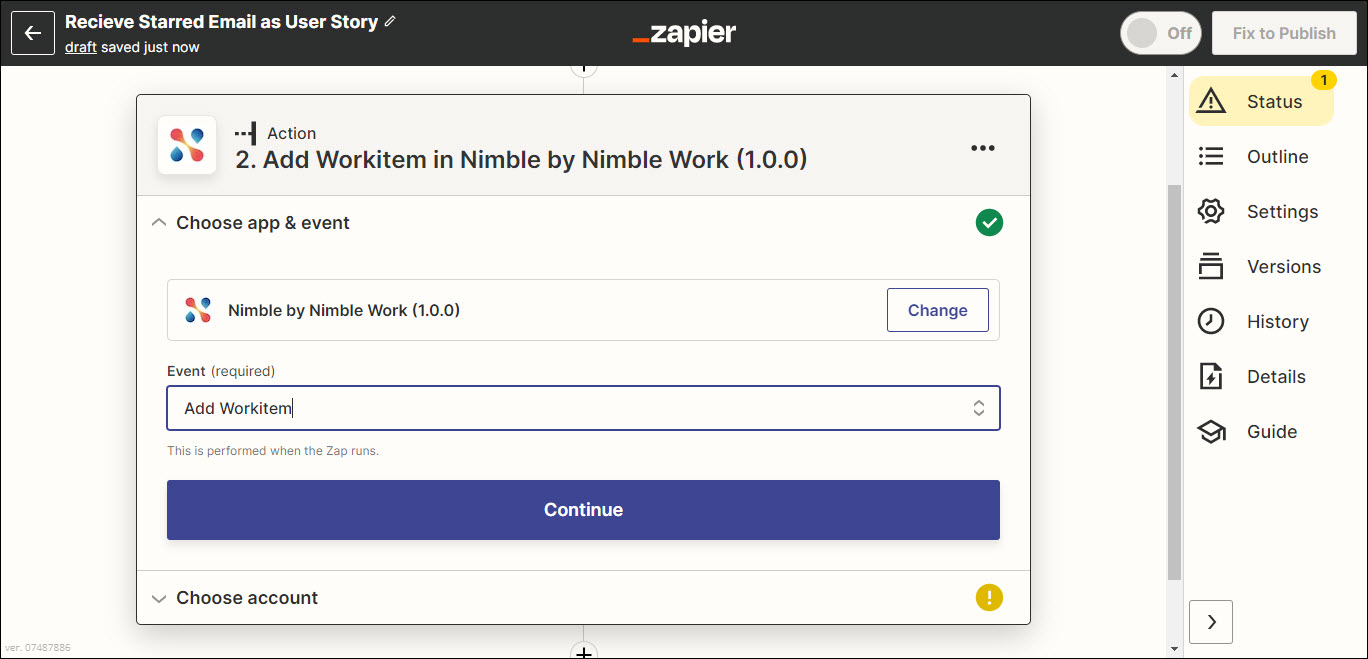
8. Next, select the action event, in our example, it is the Add Workitem, and click Continue.
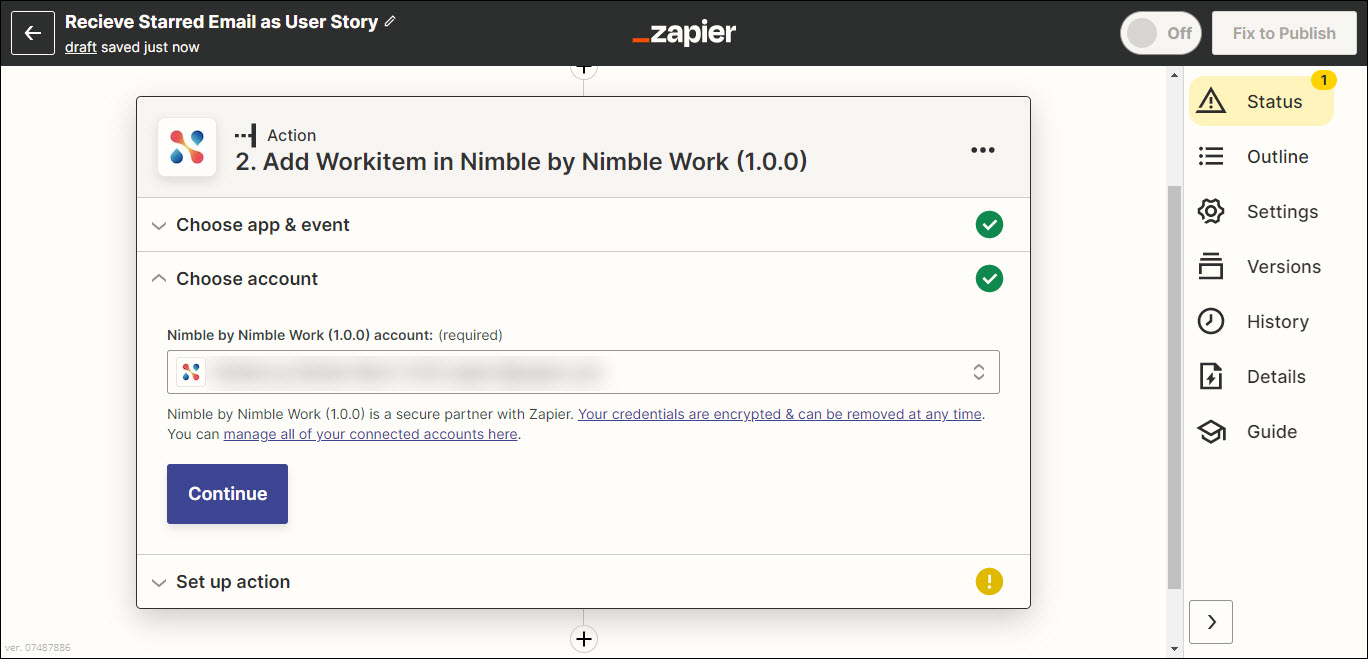
9. After you select your action event, you need to select the Nimble account. Over here, you need to connect your product account, if you are adding your account for the first time; else the same will be listed in this option.
10. When you click Add a New Account, the Connect an Account window opens. Add the required information as per the HELP text given beside each field, and press the Yes, Continue button.
11. Once your account is set, click Continue.
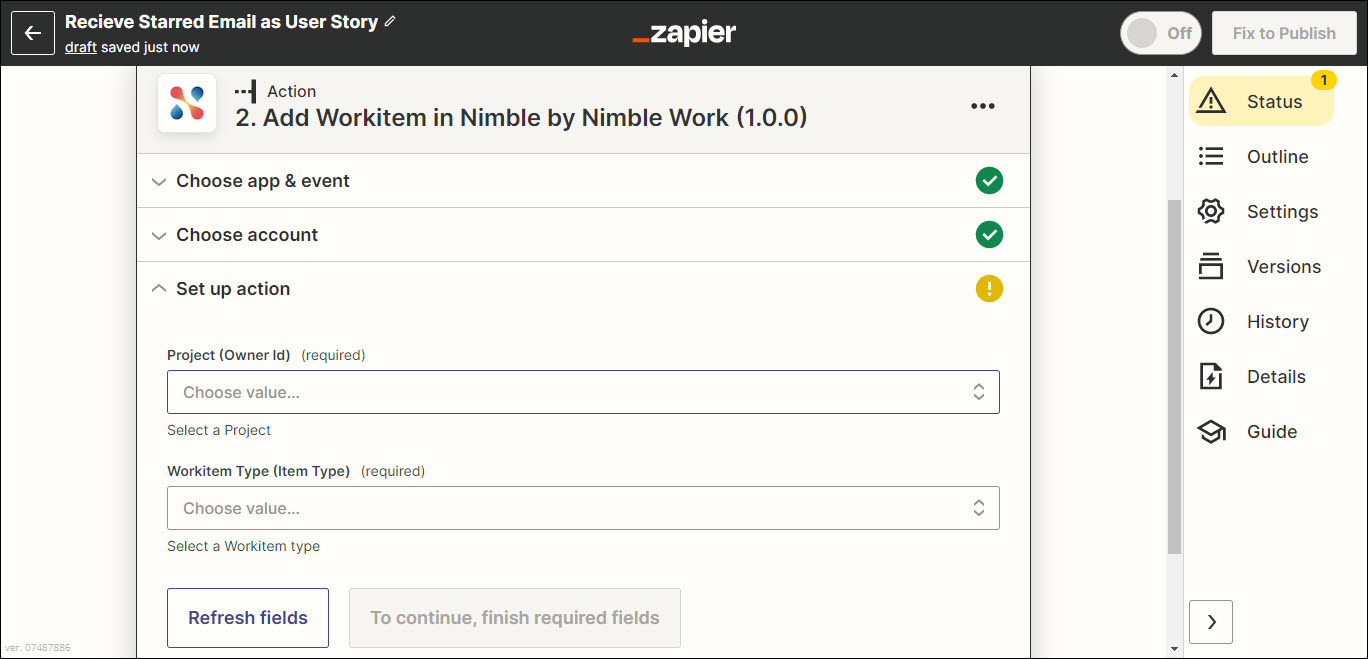
12. Next, select the Project in which you want to create the workitem, Workitem Type (User Stories, Defect, and so on), Workitem Name that you want to add for your workitem (enter or use any of the available options), select Priority (Critical, High, Medium, Low) that you want to set on the workitem, and specify the date (Due dates, Planned Date, Expiration Date and so on).
Note: Dates must be in ISO format for accurate timezone handling in Nimble. Learn how to convert to ISO format here.
13. Click Continue.
13. Once you have filled in all the information, Zapier lets you test and review your action event by providing the details.
14. ClickTEST & CONTINUE and if no issues are found, it prompts Test was successful by creating a workitem in your project; else it throws an error.
15. Now, you can navigate to the product project and check for the user story.
16. Finally, click the Turn on Zap button. By doing this, every time you receive an email and mark it as starred in your inbox, the Zap you have configured will automatically create a workitem as per the selected Workitem Type in the chosen Project.<
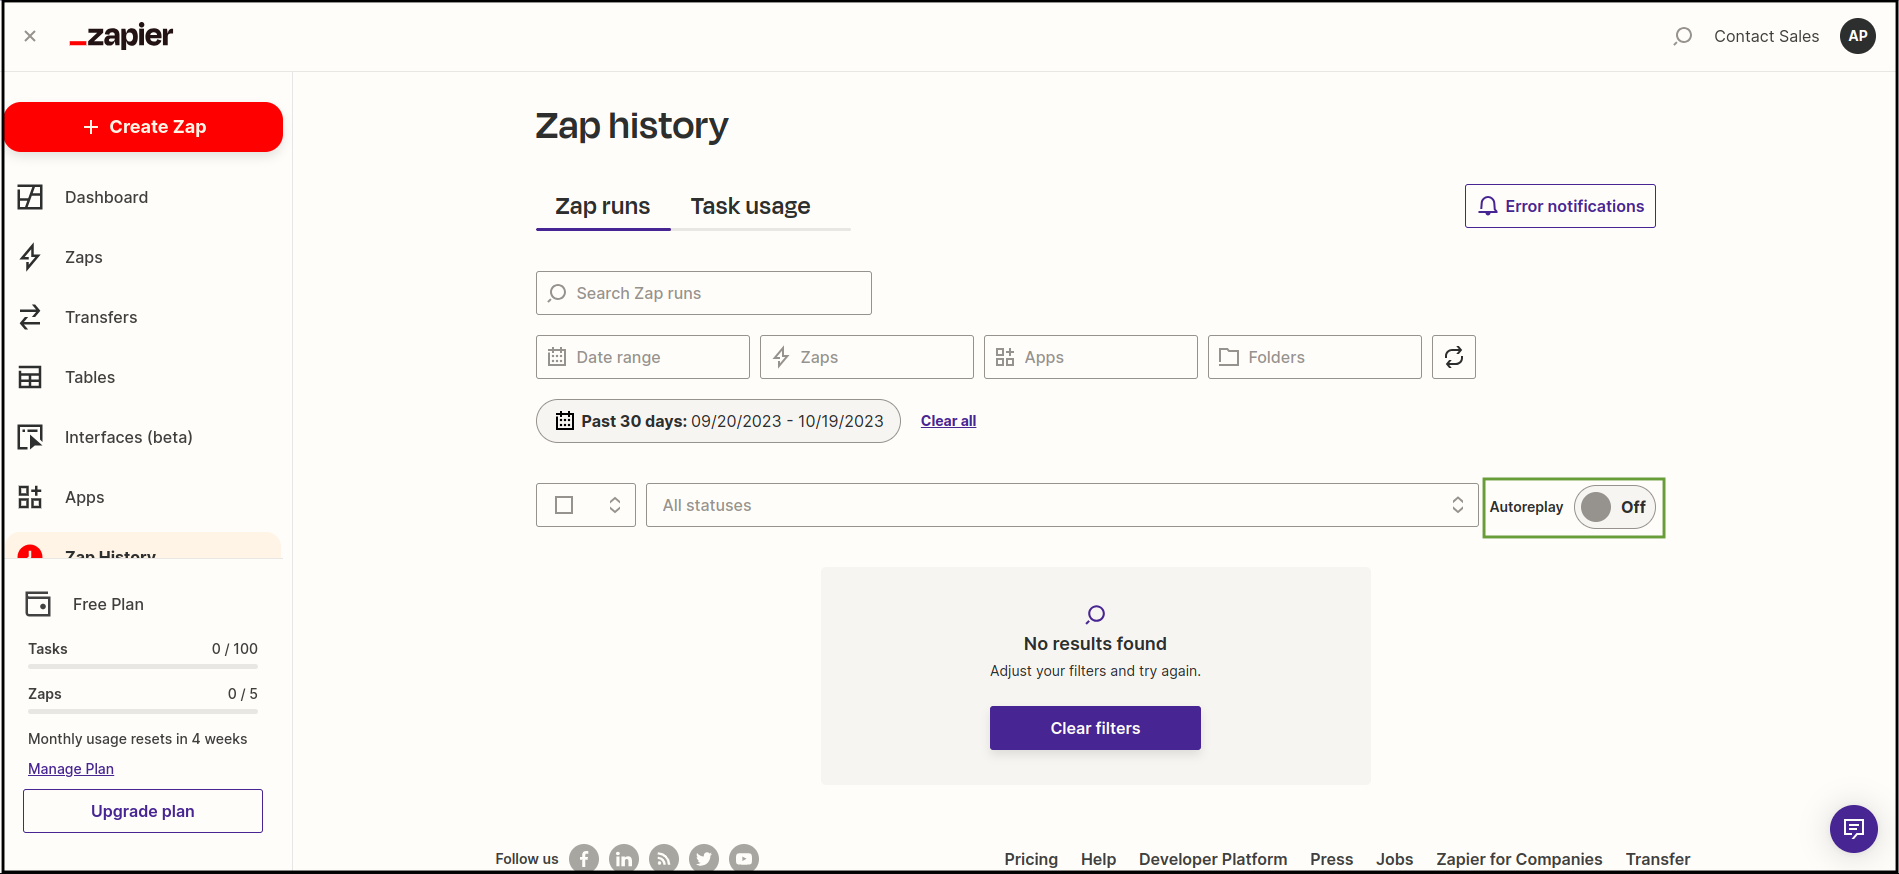
Note: To prevent the occurrence of duplicate creations from the Zapier integration, turn off the Autoreplay option for a Zap.
Similarly, you can use the other available product Action Events in Zapier and automate your daily tasks by creating as many Zaps as you want.
Adding Dates in ISO Format
Nimble accepts dates in ISO format. This ensures that the data includes appropriate timezone information.
Here are the steps to convert a date into ISO format:
- Click the date field. Identify the date field within your Zapier workflow where you need to input a date.
- Choose the trigger date that you want to set. This could be the date of an event, date created, due date, email receipt, or any other relevant action.
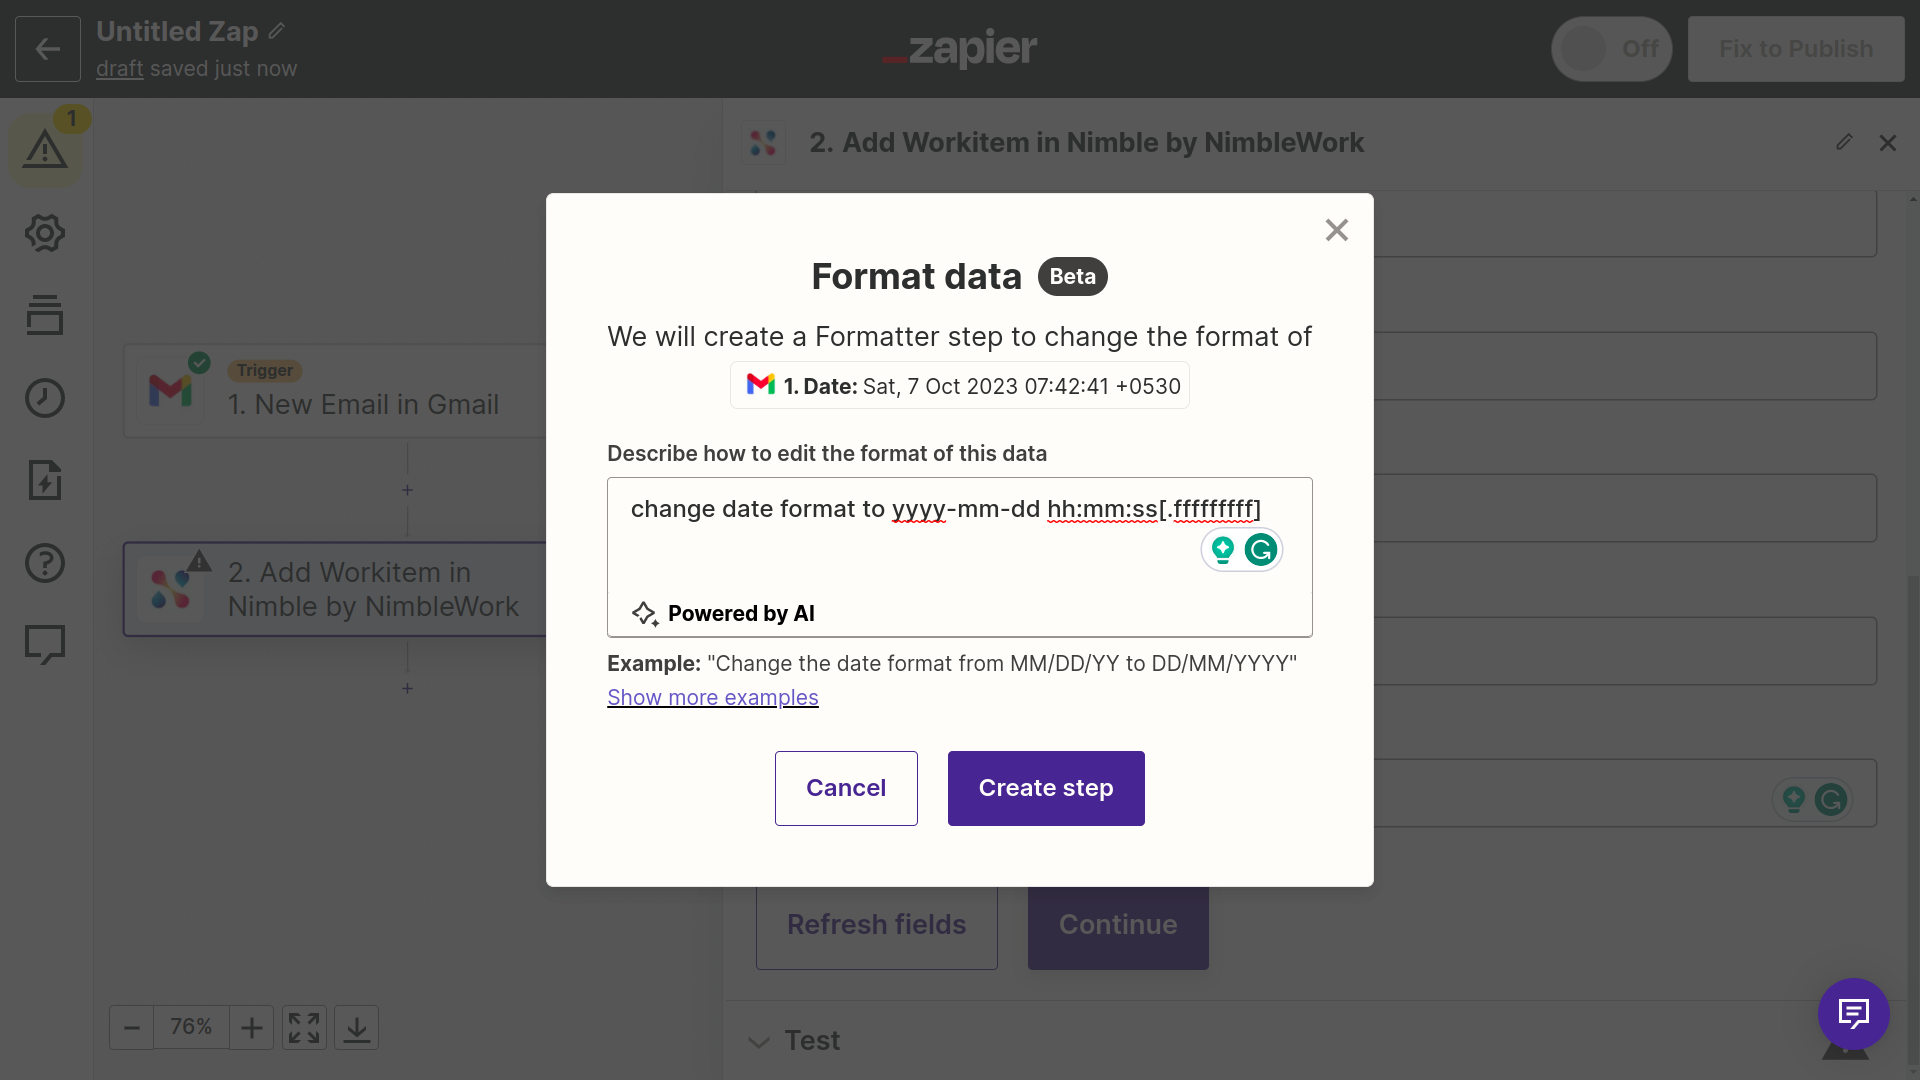
- Click Format Data.

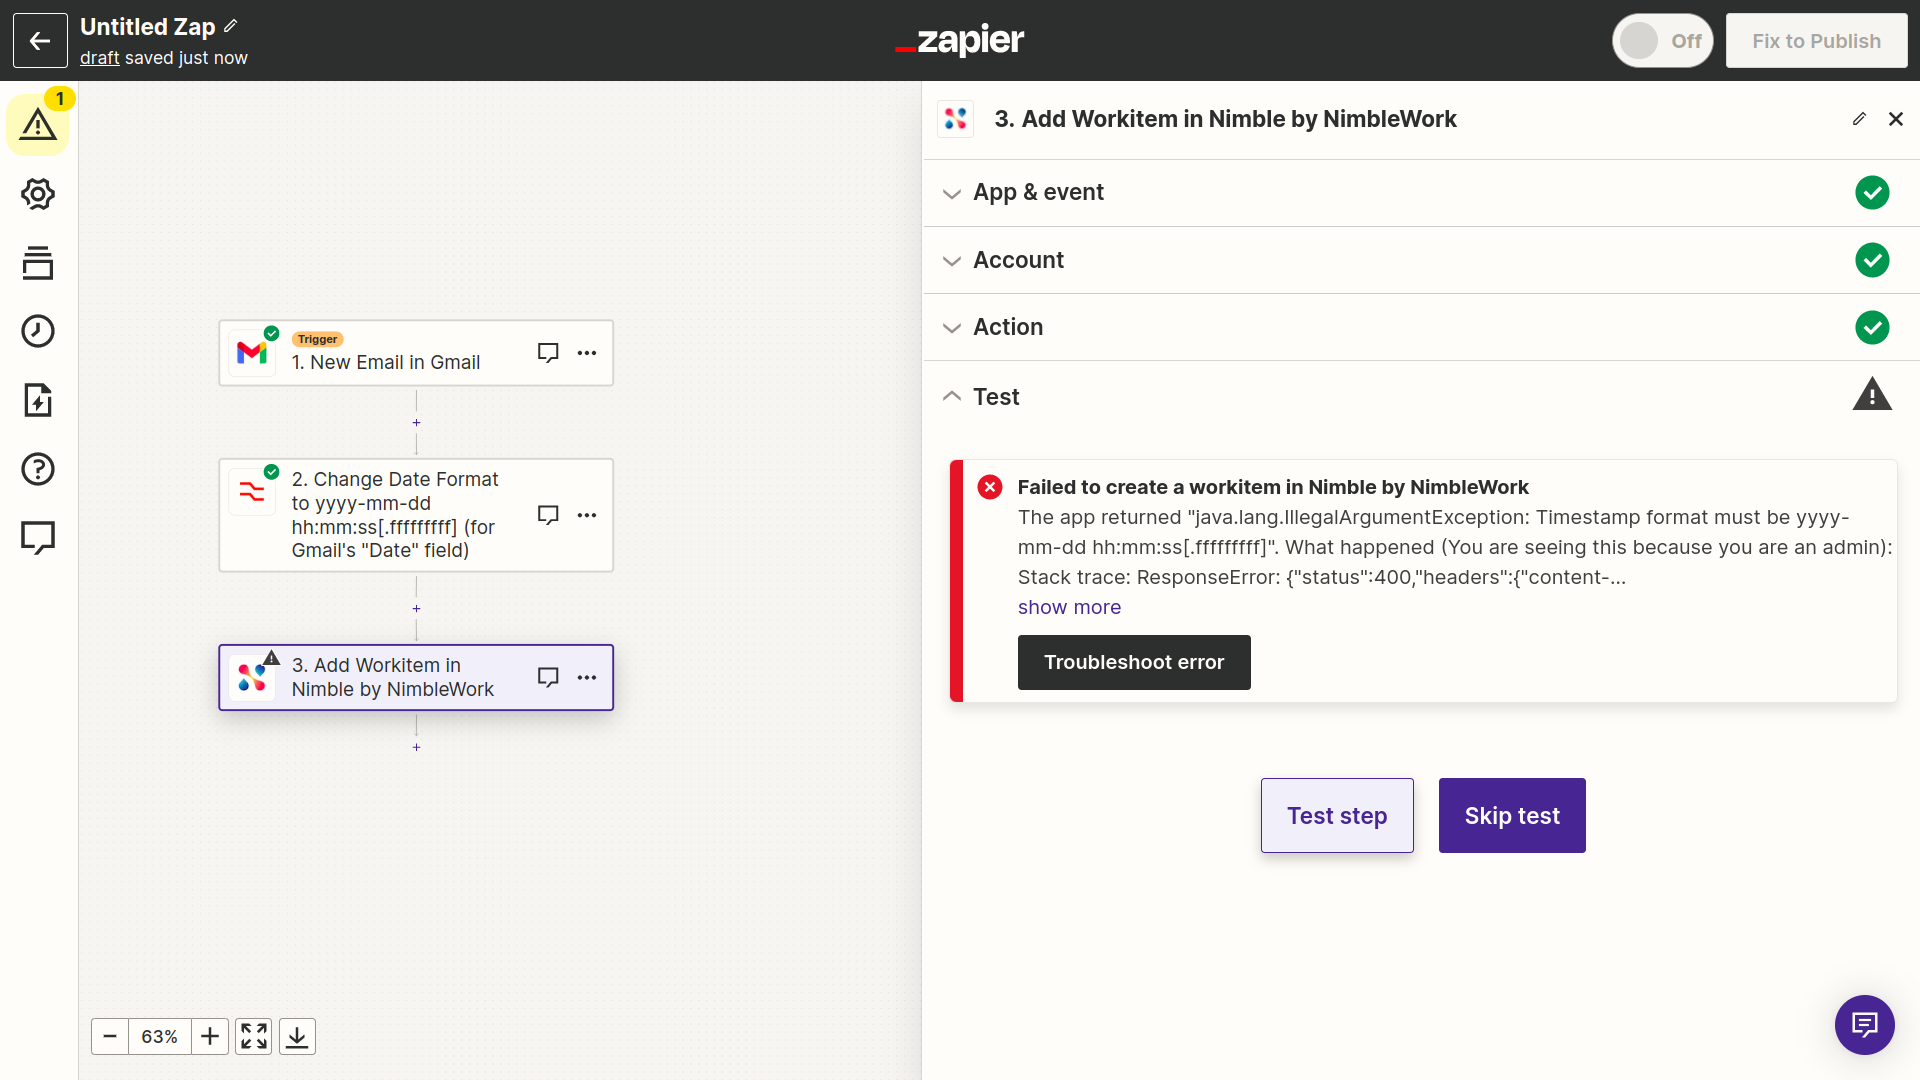
- Specify the ISO format in the prompt, type – Change the date format to yyyy-mm-dd hh:mm: ss[.fffffffff].
- Click Create Step. Zapier uses AI to convert the trigger app’s date format into ISO format.
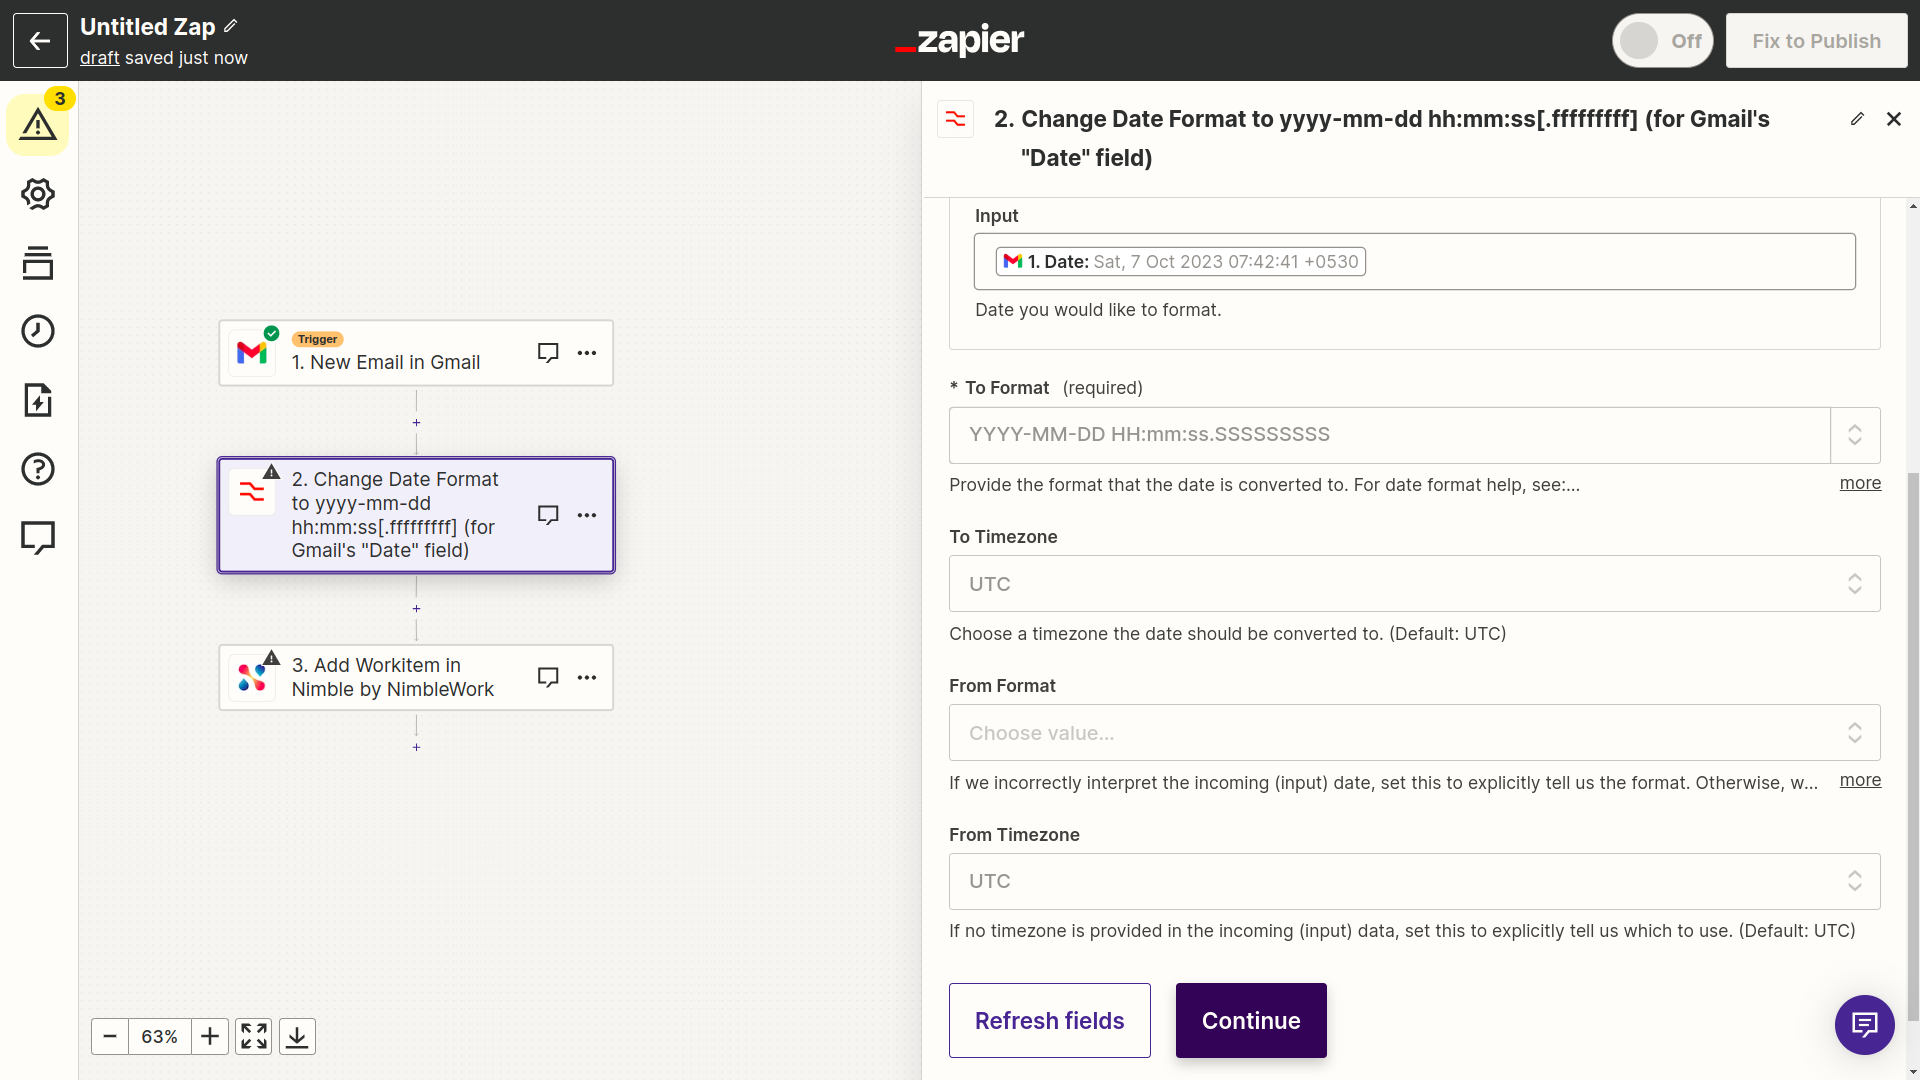
- You’ll find a new Formatter step added to the Zap, including information regarding the conversion of the date.
Note: You can also include and configure the Formatter step manually without using the AI helper, if necessary. - Click Continue.
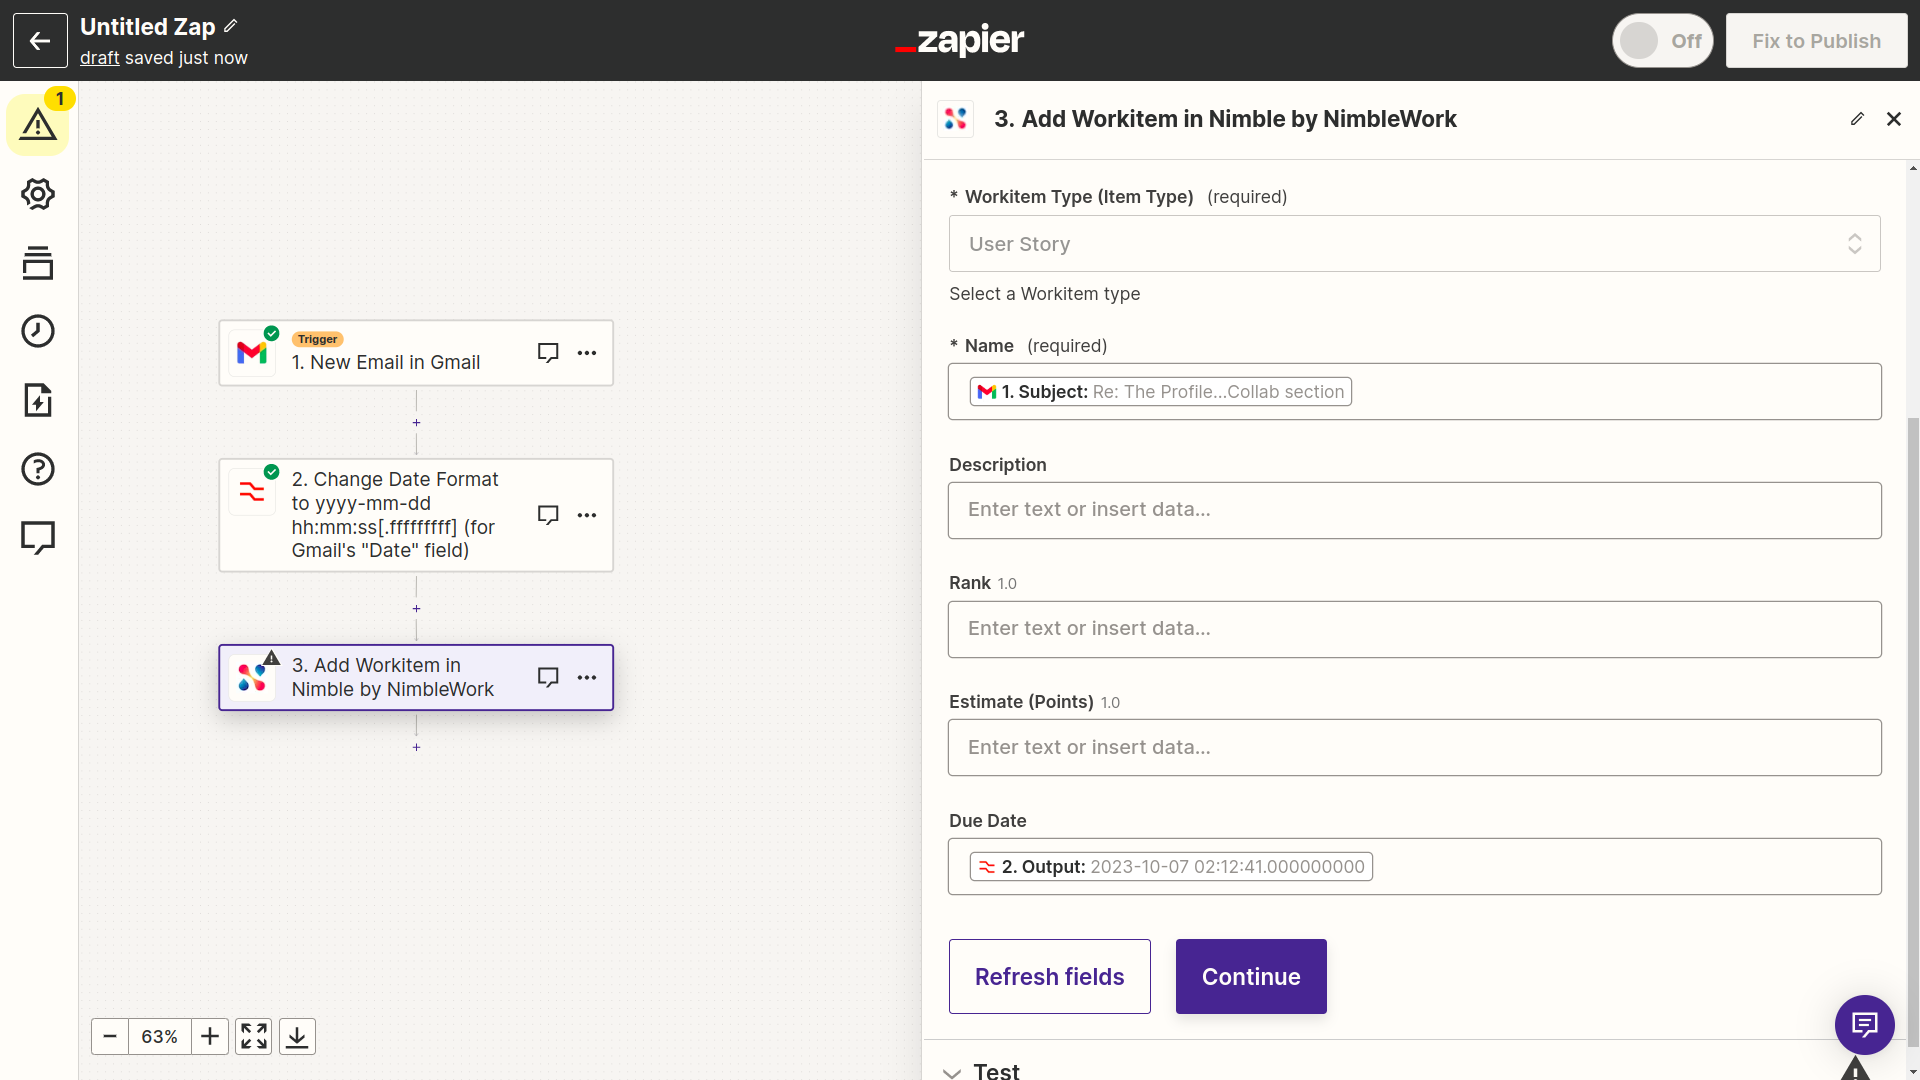
- In your action, you’ll see that the Formatter date has been added to the date field.
- Click Continue to finalize your workflow setup.
If the date field isn’t added in the appropriate format, you’ll likely receive an error message like the one below. Ensure the above steps are followed for all date fields.