
Start with the video first to get a better grasp of the topic!
|
Skip Ahead to: |
Overview
A User Story is a software system requirement formulated by the customer, in one or two sentences, in the everyday language of the user. User stories are used for the specification of requirements (together with acceptance tests). Each user story is limited to ensure that it does not grow too large.
You need to define a product backlog based on the list of requirements. The Product Backlog item represents all the work a team needs to complete for a release. To define a product backlog, create user stories, rank, and organize them so you can manage them easily.
Navigation
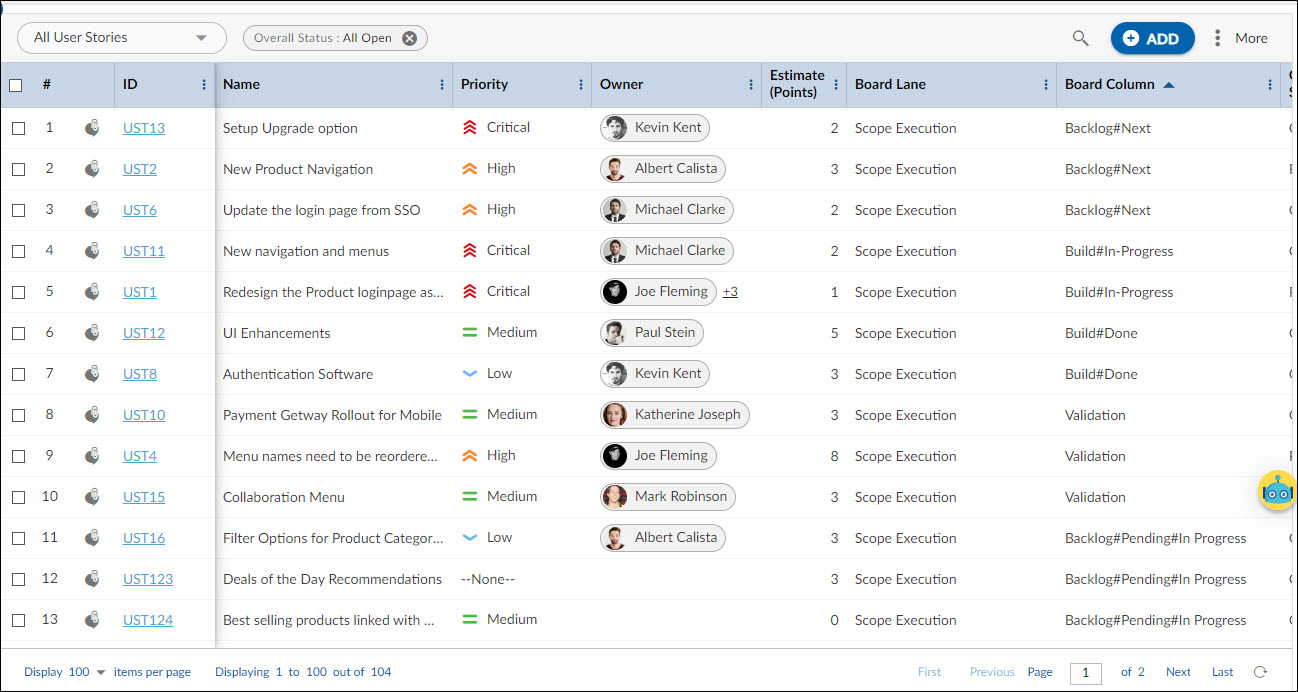
Navigate to the breadcrumb at the top and hover over the Project name, expand the Execute module, and select User Stories.
Steps to Create a User Story
While creating a user story ensure that it is limited and if it grows too large eventually, break it down into smaller user stories. This simplifies the management of the product backlog. A user story can be created for features or enhancements, or a defect to be fixed.
To create a user story:
1. Click the ADD button from the User Story List view.
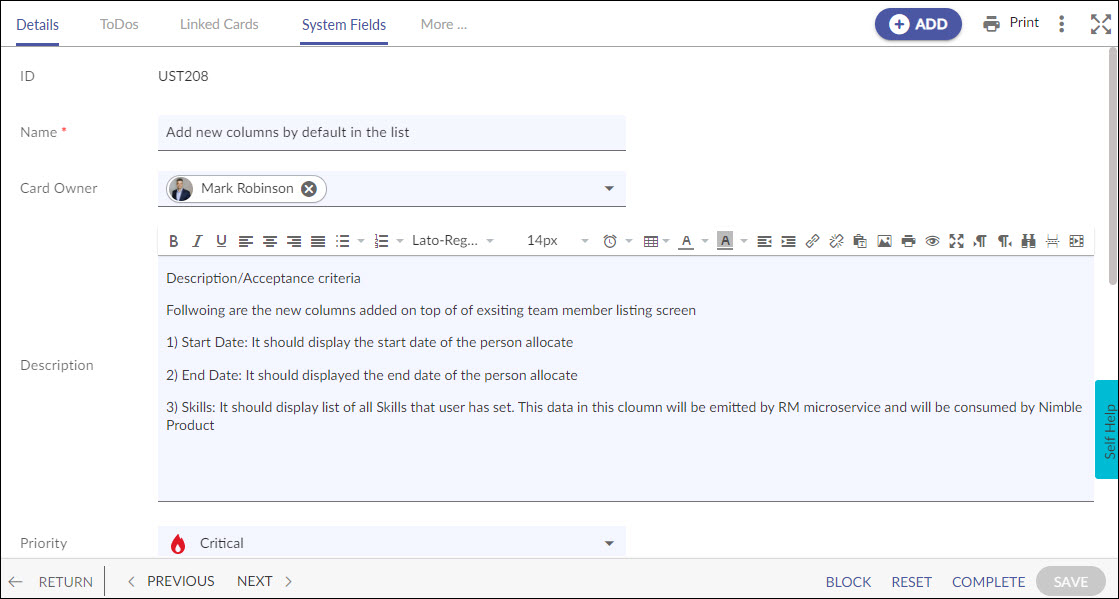
2. Enter the details as explained below:
- Name: Enter a logical name for the user story. The name should indicate what this user story is about.
- Description: Enter a short description of the user story. You can enter the information gathered from the customer in the everyday language. For e.g. “Starting Application = The application begins by bringing up the last document the user was working with.“
- Rank: Enter the rank to prioritize the user story. You need to enter a numeric value in this field.
- Card Owner: Select the card owner from the list of project team members. If the card to tagged to a sprint, which is associated with a team, then the team member of that team will be listed at the top of the list in the card owners list. The list will also contain names of the resources who are or had been card owners and now have been deleted or unallocated from the project.
- Estimate: Enter the estimated points for the user story.
- Due Date: Enter a due date for the user story.
- Release: Select the appropriate Release.
- Sprint: Select the sprint planning for the release.
3. Click the SAVE button.
Once the User Story gets created, then the following tabs are visible:
Common Operations to Manage a User Story
- Edit
- Multiline Add Item
- Delete
- Export
- Import
- Copy
- Multi Sort
- Log Effort for the User Story (available only for projects which have the ‘Include in Timesheet’ option selected for the User Story Form).