Skip Ahead to:
4 topics
Overview
The Business Rules 2.0 page lists every rule in the project. From here, you can add, open, copy, and delete rules.
In each row, you see what the rule is for, which card type it works on, and when it runs. The Status column also tells you at a glance whether the rule is enabled. To learn how to build a rule, see How to Create a Business Rule 2.0.
Navigation
Navigate to the project, hover over the top breadcrumb, expand the Configure menu, and select Business Rules 2.0.
Layout of the Listing Page
First, the page has a small toolbar above a grid of rules. Use the search icon to find a rule in the list. For example, type part of a rule name to narrow the list. Then select ADD to create a new one.

In detail, the grid contains the following columns:
| Column | What it shows |
|---|---|
| Rule Name | The name you gave the rule. The list opens sorted by Rule Name. |
| Description | The description you entered for the rule. |
| Card Type | The form (card type) the rule works on, for example Defect or Epic. |
| Event | The trigger that starts the rule, for example On create or On update. |
| Applies To | The personas the rule applies to. Each persona appears as a tag, such as All User Personas. |
| Seq | The sequence number of the rule. |
| Source | Where the rule belongs. Rules created in the project show Project. |
| Status | Enabled or Disabled. |
| Actions | The copy and delete icons for the rule. |
Therefore, you can read a rule’s purpose, scope, and state from a single row.
Besides that, you can perform common operations such as rearranging column fields, sorting, and filtering.
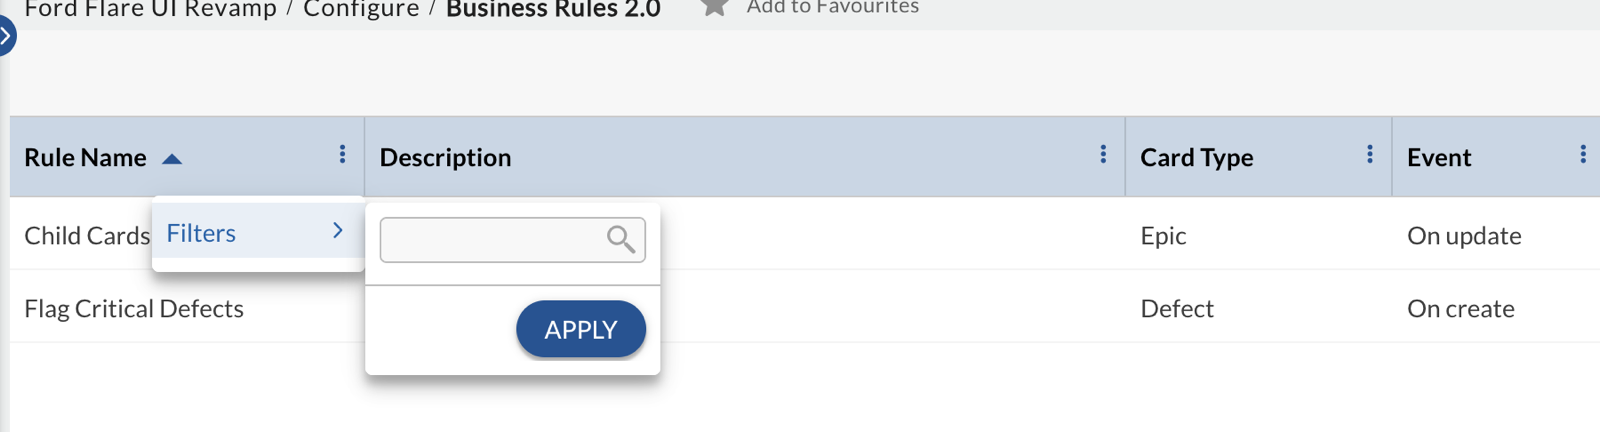
To filter a column, select the three-dot icon in its header and then Filters. Next, type the text you want to find and select APPLY.
Note
If the project has no rules yet, the page shows the message “To start adding Rule, click here.” In that case, select the link, or select ADD, to create the first rule.
Work with a Rule from the List
Open a Rule
To open a rule, select it in the list. Once it opens, the editor shows the visual flow of the rule, the Enable Rule toggle, and the Execution logs toggle. Then select SAVE to keep any change you make. Meanwhile, nothing changes until you save.
Copy a Rule
To duplicate a rule, select the copy icon in the Actions column. The copy appears in the list straight away, and a message confirms that the rule was copied. The copy keeps the original name with “- Copy 1” added. After that, open the copy to adjust it.
Enable or Disable a Rule
To disable a rule, open it and switch the Enable Rule toggle off. Because the change takes effect immediately, the Status column then shows Disabled. However, a disabled rule does not run, and its copy icon is unavailable. Later, switch the toggle on again to resume the rule.
Delete a Rule
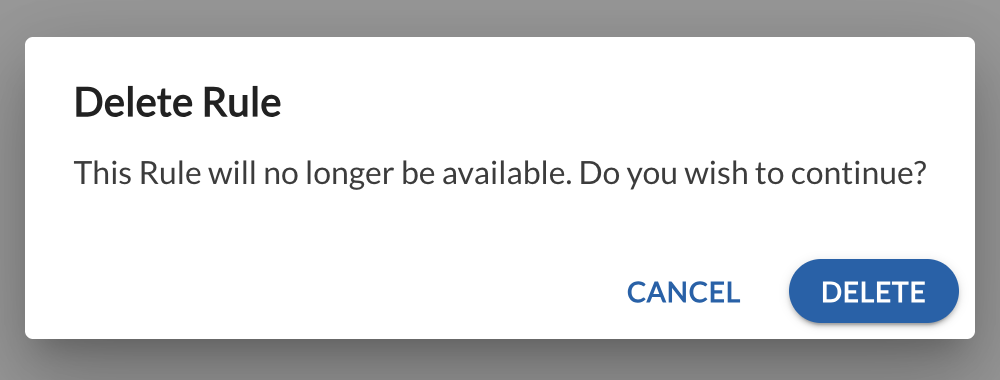
Select the delete icon in the Actions column. A confirmation dialog warns that the rule will no longer be available. Next, select DELETE to remove the rule, or CANCEL to keep it. Afterwards, a deleted rule no longer appears in the list.