
In this article, we will help you to understand how to add tags to a workitem.
|
Skip Ahead to: |
Overview
A workitem can be identified from the many fields, and the tag is one such field that can be used to sort the workitems in an Agile workitem. Tagging can be a great way to associate workitems with a feature, customer, or anything important that you would like to remember. You can ‘tag’ a card with any value/label you want, to retrieve the workitem, specifically filtering cards on tags.
Steps to Add Tags to a Workitem
Prerequisite: The form must include a Tag block configured in Forms 2.0.
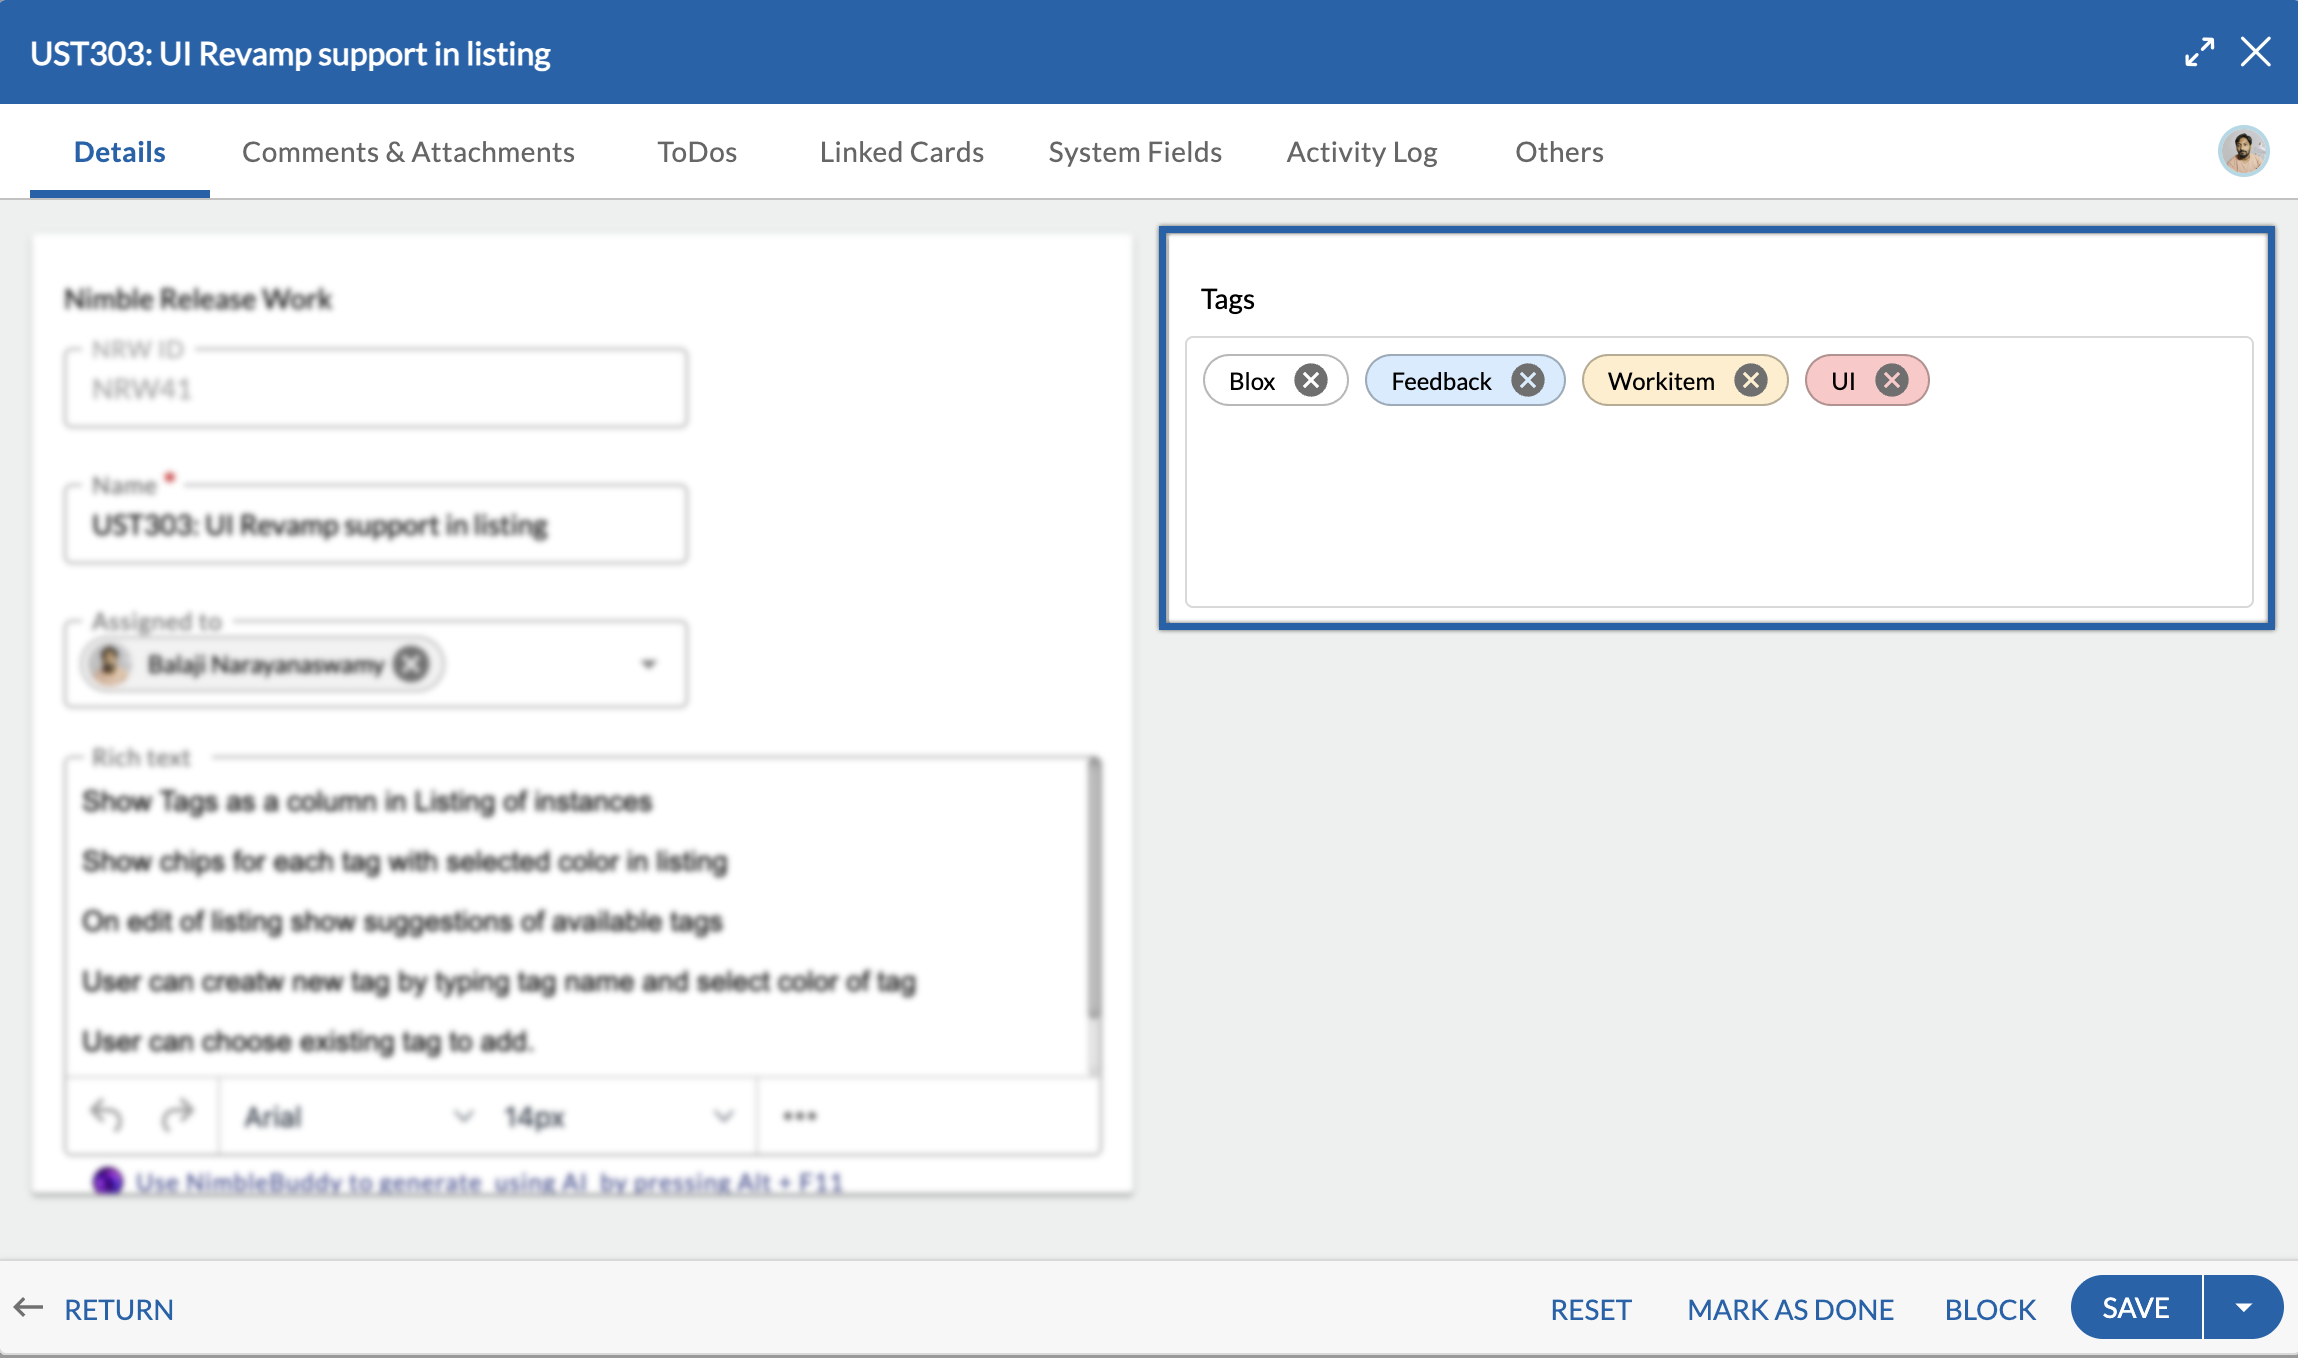
To add a tag, while creating or modifying a workitem,
- Type text in the free-flowing text box in the Tags block, then press ENTER or SPACEBAR.
- The tag appears along with a cross mark.
- It is much easier to select the required tag from the Auto-complete list. The tags already created for workitems in your project are listed as you type.
- To delete the tag, click the cross mark.
 When the cursor turns into a hand pointer. You cannot edit a tag, it’s quick to delete and add a new tag instead.
Note: A maximum of 25 tags can be added to each workitem.
If you type a duplicate tag in the same workitem and try to press ENTER, it will not be accepted and will highlight (in yellow color) the existing tag in the text box.
Also, You can now add tags directly from the Workitem listing view in modules such as Eform Listing, Work Hub Listing, Dashboard Listing, and other editable listings. To add a tag, click on the Tags cell against a workitem, then type the tag name or enter first three letters of the desired tag. If a matching tag exists, it will be suggested or Press Enter to add the tag. Afterward, click outside the cell to save the workitem with the newly added tag.
Save the workitem after you add your tags.
Adding Tags from the Listing View
Follow these steps to add tags directly from the listing view:
-
Find the Tags cell in the workitem listing (in modules such as Workitem Listing, Work Hub Listing, Dashboard Listing, or any other editable listing).
-
Click on the Tags cell corresponding to the workitem you want to add a tag to.
-
Either type the tag name directly or start typing the first three letters of the desired tag. A list of matching tags will appear as suggestions.
-
Select or Add the Tag:
-
If the desired tag is suggested, select it.
-
If the tag is not listed, continue typing the full tag and press Enter to add it.
-
Note: Tags appear in the Column Settings only when the Tag block is added to the specific form.
Viewing Tags on Work Hub
If a tag is added to any workitem on the Work Hub, then the card would display a tag icon at the top portion of your card, and hovering over it would display all tags added for that card as read-only.

Note: Tags appear in the Card Settings/Designer only when the Tag block is added to the specific form.