
Start with the video first to get a better grasp of the topic!
|
Skip Ahead to: |
Overview
In the product, you can create and manage projects based on standard software development methodologies like RUP®, PMBOK, and Agile. Projects can be created for application development, maintenance, support, etc.
Navigation
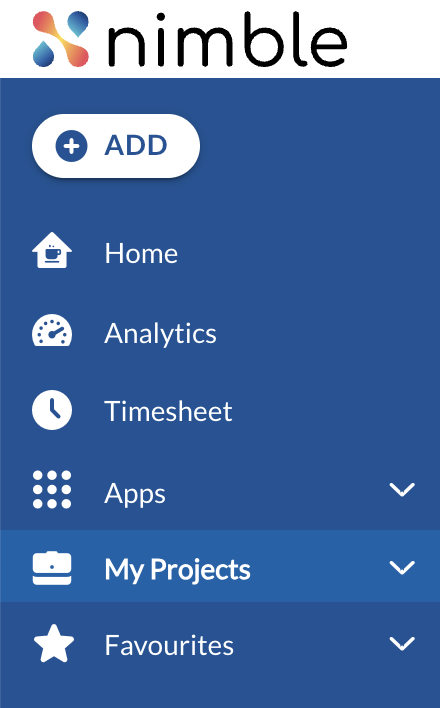
You can create a project using the following navigation:
- Click the ADD button in the left navigation panel and select the Project option.
- In the left navigation panel, expand the My Projects menu and select All Projects. From the All Projects screen, you can click the ADD button to add a project.
Steps To Add a Project
- From the left navigation, click the ADD button and select the Project option.
- Select the required template. For more information, refer to Template selection.
- Enter the fields in “Create your Project” as explained below:
- Name: Enter an appropriate title for the Project.
- Invite team members: Enter the email address to invite team members to the project.
- Click the FINISH button.
After creating a project, all menus and their respective submenus become available based on the selected template. You can update project details such as Project Name, Planned Start Date, and Planned End Date from the Project Details option under the Plan menu.
In the Project Profile screen, you can also perform additional actions such as Print, Delete, or Save as Custom Template. When the project is no longer needed, you can close it by clicking the CLOSE PROJECT button.
Once the project is created, team members are invited, and they start logging time for the work they do, the Project Details page shows the key project financials such as Allocated Budget, Allocated Cost, and Actual Cost. These fields provide a bird’s-eye view of your project’s financial status. The Budgeted Cost is derived from the Demand for the projects in the Portfolio Management module and thus will only be visible for the projects created through demands in Portfolio Management. The Allocated Cost is derived as per the Cost of each team member defined in the Cost Definition screen, as per their persona and the % Allocation of the team members in that project (in the People Management module). The Actual Cost is derived as per the Cost of each team member defined in the Cost Definition screen, as per their persona, and the time logged by the team members in the timesheet.
You can also plot these details in the Analytics module to monitor your projects more effectively.
Common Operations to Manage Projects
Some common operations that you can perform on the My Projects listing: