
Overview
Fill out the employee information as the final step in the recruitment process to ensure smooth execution of Employee Onboarding. Ensure that all information, such as job location, department, working mode, and so on, is included as discussed at an early stage of the recruitment process.
has been received.
Note: This menu is only available for the Employee Onboarding template.
Navigation
You can create an Employee using the following navigations:
- In the left navigation panel, expand the Recent Projects menu and select any project. Hover over the Project breadcrumb at the top, expand the Execute module, and select Employee.
- In the left navigation panel, Click the ADD button and select Card.
Steps to Add an Employee
- Click the ADD button.
- Enter the relevant onboarding information required to add the employee:
-
- Employee Name: Enter the name of the employee.
- Gender: Select the gender of the employee.
- Card Owner: Select the card owner for the employee.
- Address: Enter the address of the employee.
- Joining Date: Enter the date of the employee’s joining date.
- Reporting Manager: Enter the reporting manager of the employee.
-
- Fill in the other remaining attributes and click the SAVE button.
To know how to quickly add onboard information of employees from the left navigation panel, click here.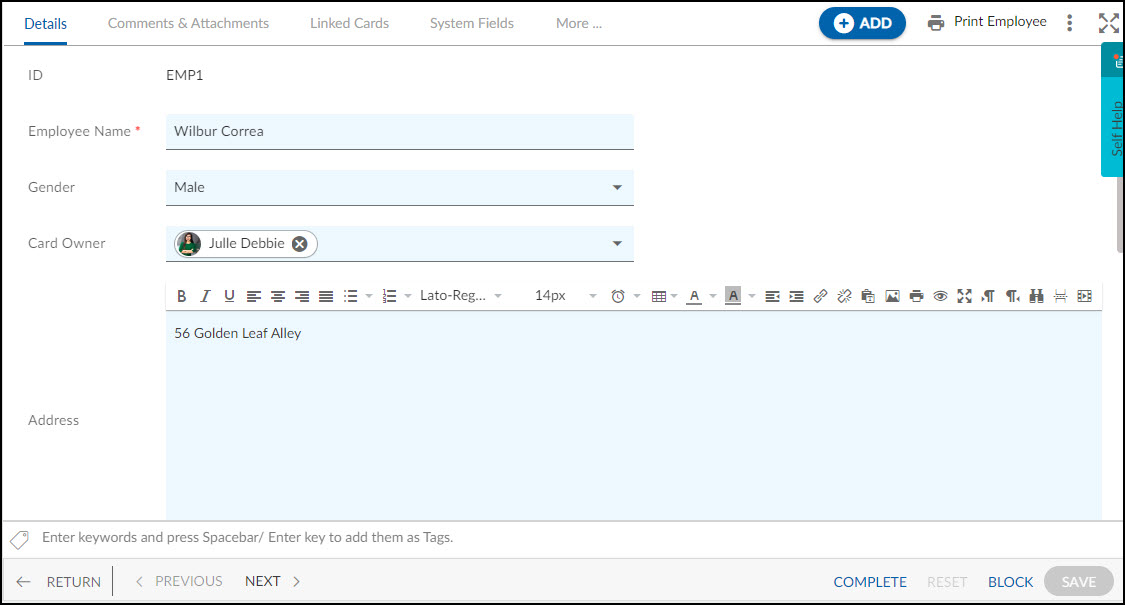
Default Sections in Employee
The default sections appearing for an employee are Details, Linked Cards, Comments & Attachments, and Activity Log.
Once the Employee is added, the following tab is visible:
- Details: The Details section displays, gathers, and tracks all information related to the employee.
- Comments & Attachments: The members can add comments related to the project item which are then listed in the Comments section. When a project item requires more data for reference, you can attach files that can be downloaded, edited, and uploaded. For more information, click here.
- Linked Cards: It helps you to set parent-child hierarchy and relationship between themes/epics and workitems and trace them while working with them. For more information, click here.
- Activity Log: The Activity log displays the list of operations in reverse chronological order for activities performed such as updating, closing, reopening, etc. In the Activity Log, you can view the various versions and the differences in two versions of a workitem. For more information, click here.