This article explains how to export and import workitems using Microsoft Excel. You will learn how to export workitems, make updates offline, and import the file back into the application to add, update, or close workitems.
|
Skip Ahead to: |
Overview
Exporting workitems enables sharing files and helps in adding and modifying workitems offline using MS Excel. Export the structure to add and upload items or all content for all fields to modify and/or close items. On Importing the files back into the application, items are added/updated/closed.
To bring in workitems from other systems into the application, export the structure of that workitem i.e., Skeletal Export, and then enter data formatted to the columns in the file. This will allow the smooth import of workitems i.e. without any errors.
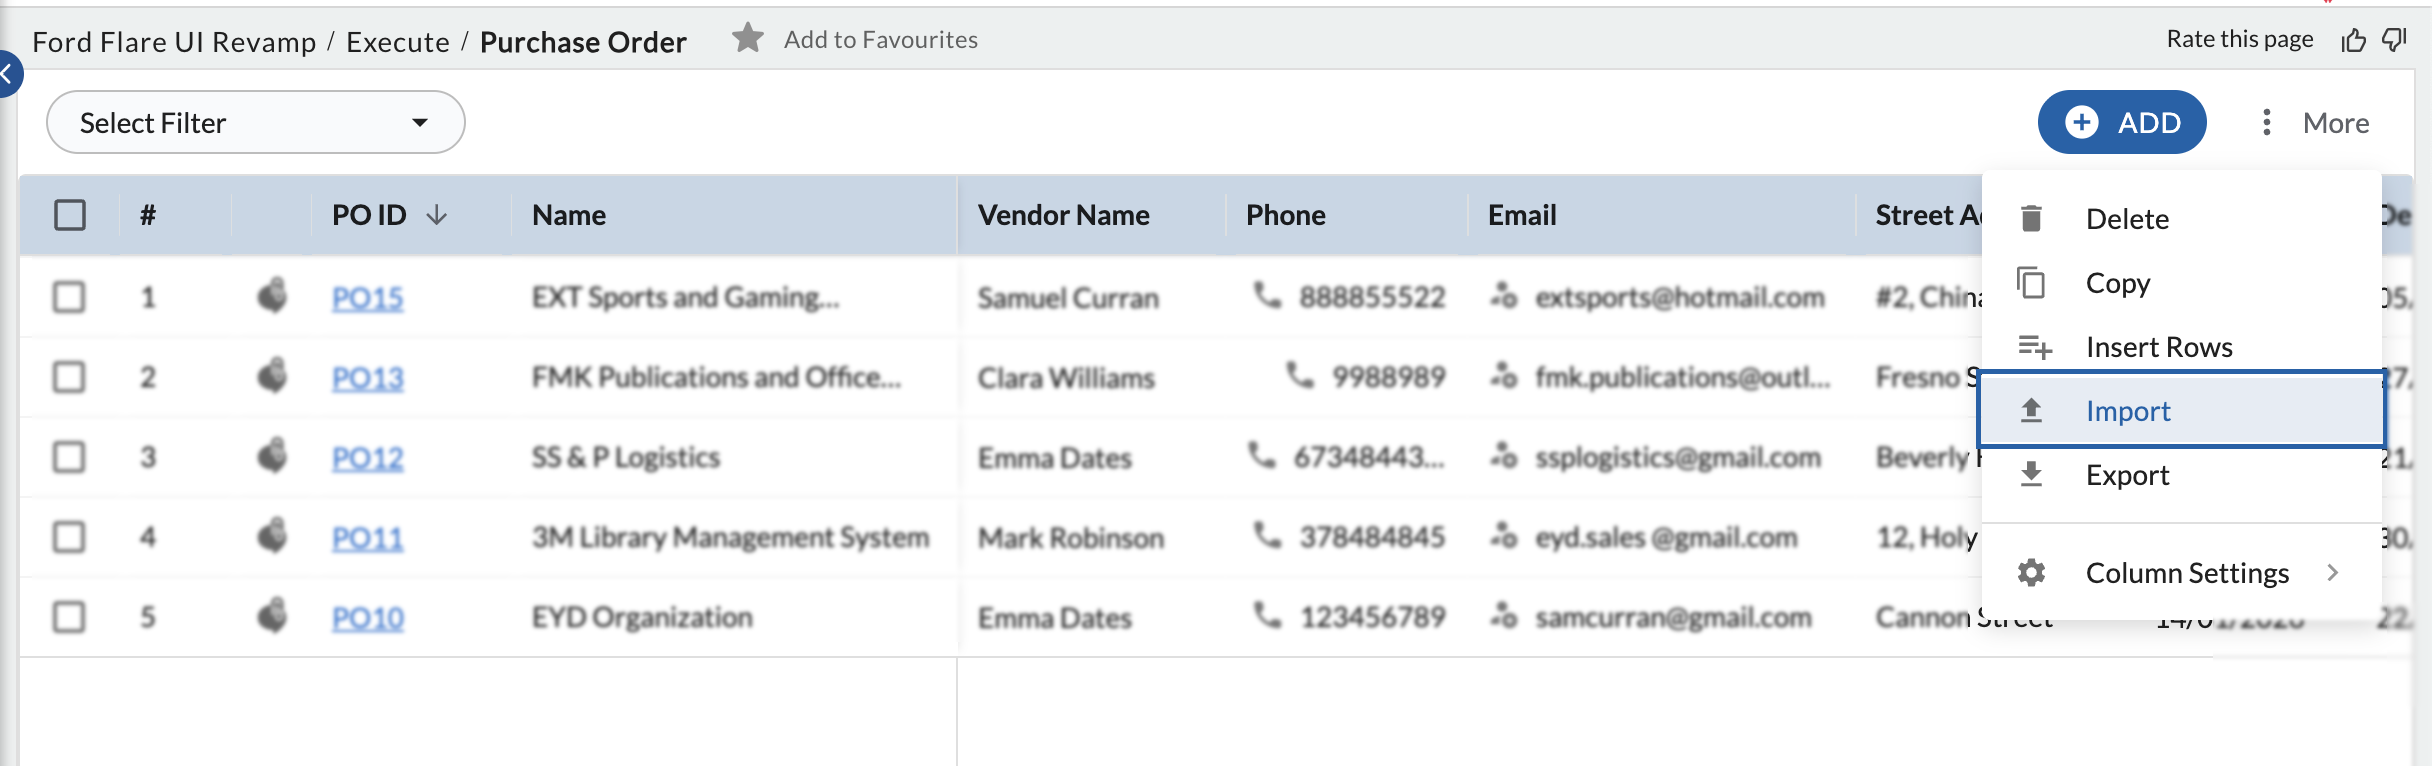
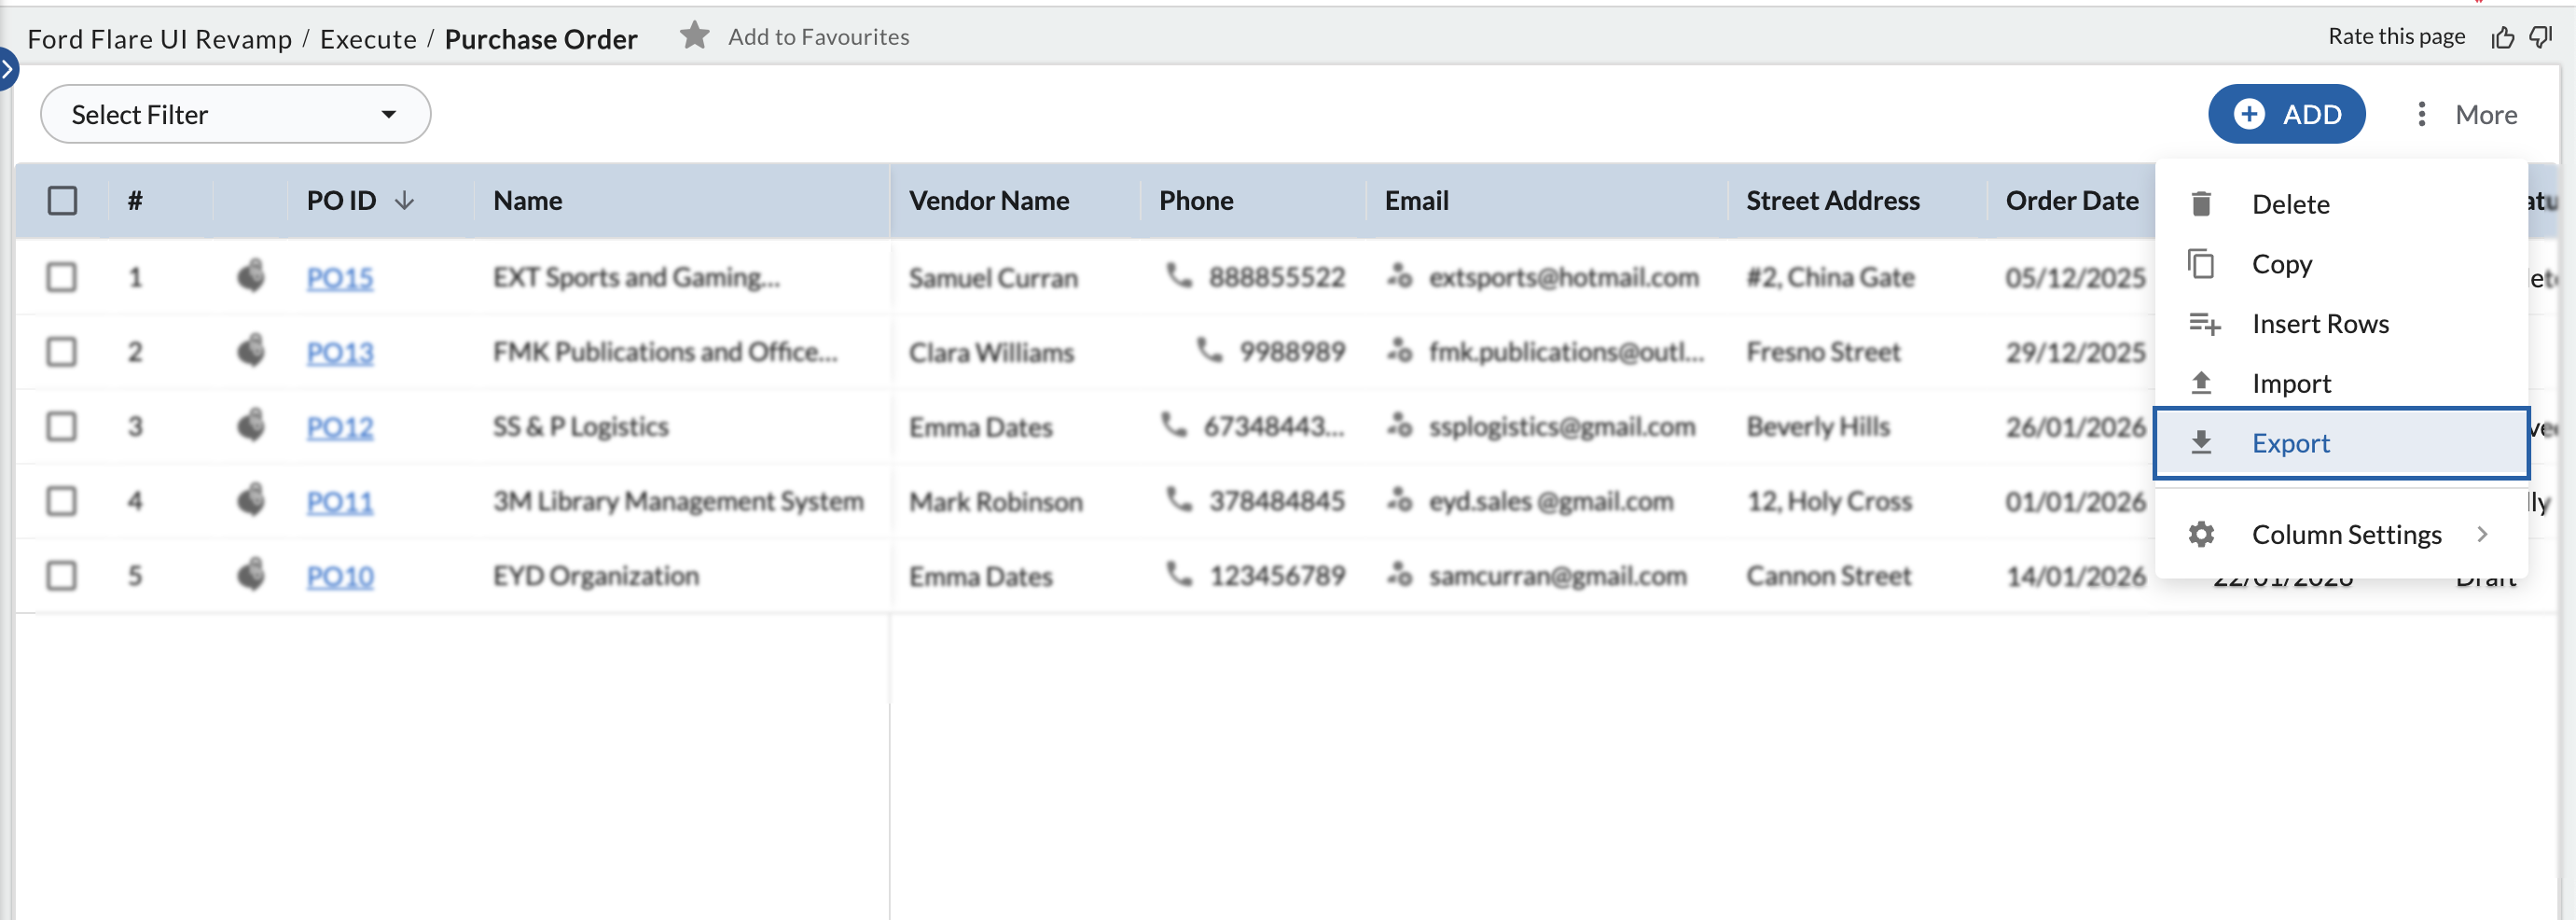
Steps to Export Workitems
You can export workitems in Excel format as a compressed file. Select one or more workitems and download them along with their attachments. You can choose to export all fields or only the fields displayed in the List view.
To export workitems:
- In the Workitem Listing view, select the required workitems.
- Click the Export icon.
- The file is downloaded automatically in Excel format.
Note:
- RTF (Rich Text Format) fields are not supported in Excel export/import. Such fields are excluded from the exported file, and their corresponding columns are not available in Excel for updates or import.
- If the number of instances is more than 1000 then a popup message will be displayed about exporting the first 1000 instances only. Also, the search select fields of the workitem appear with drop-down values in the exported files. Following is the explanation of the symbols in the Column headings, prefixed with the column names.
The read-only fields and the closed workitem rows are highlighted in a gray color to indicate that they are non-editable.
Steps to Import Workitems
Ensure that you import the same file you exported and you have entered values in the mandatory fields.
You can copy data in string, numeric, date, and time formats from another Excel file into the exported file. Any new rows added with data are created as new workitems during import.
To import workitems:
- Go to the required Workitem Listing view after updating the Excel file.
- Click the Import icon.
- Click Choose File and select the required file.
- Click Next.
- In the preview step:
-
- Review the data before importing.
- Check the number of validated and failed records.
- Failed records display the reason for failure.
- Click Next to proceed with the import.
- The updated workitems are added to the application.