
In this article, we will help you to understand how to add a defect.
|
Skip Ahead to: |
Overview
The defect is a non-conformity observed against the specifications. Defects are logged as a part of the testing process, reported internally, or reported by customers. You can manage the entire life-cycle of the defect through the automated process defined in your project, which includes reporting, verification, resolution, and closure. Configure the Defect Form to capture information on the defect identification stage, priority, and impact, to be able to take measures to prevent them early in the project.
To capture defect-specific information, managers can customize the Defect Form by modifying the Details section, adding new sections (such as ‘Investigation’ to capture cause and effect analysis), or linking existing sections (such as ‘Change Request’ to trace the link between Defects and the Change Request).
Navigation
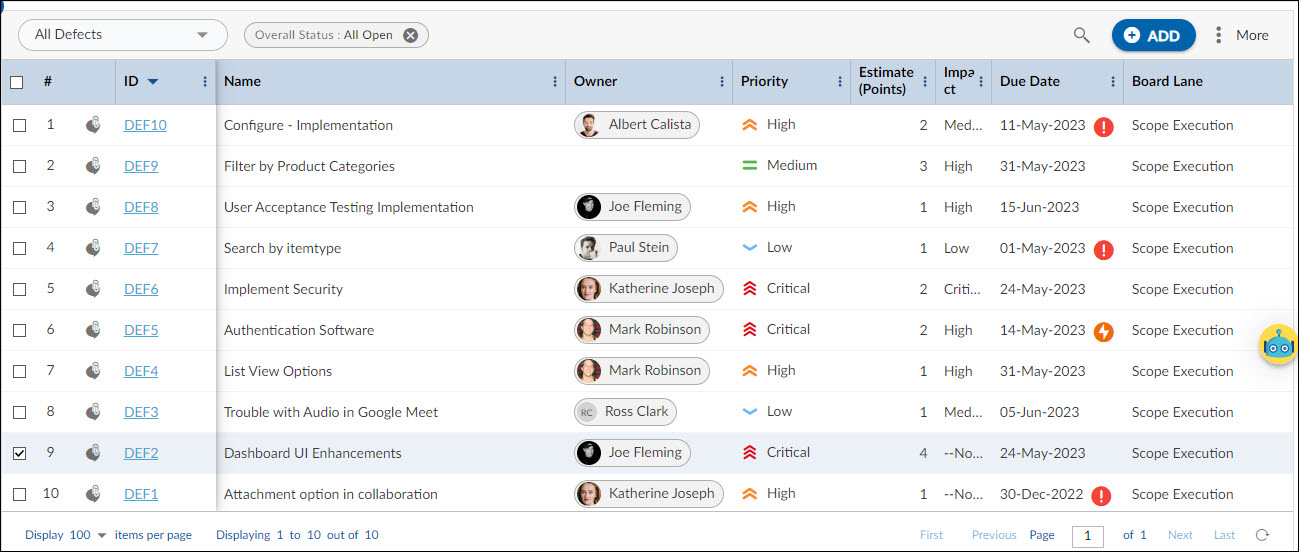
Navigate to the breadcrumb at the top and hover over the Project name, expand the Execute module, and select Defects.
Steps to Create Defects
To add a defect:
- Click the ADD button.
- Enter the required details such as Name, Description, Due Date, Priority, etc.
- Click the SAVE button.
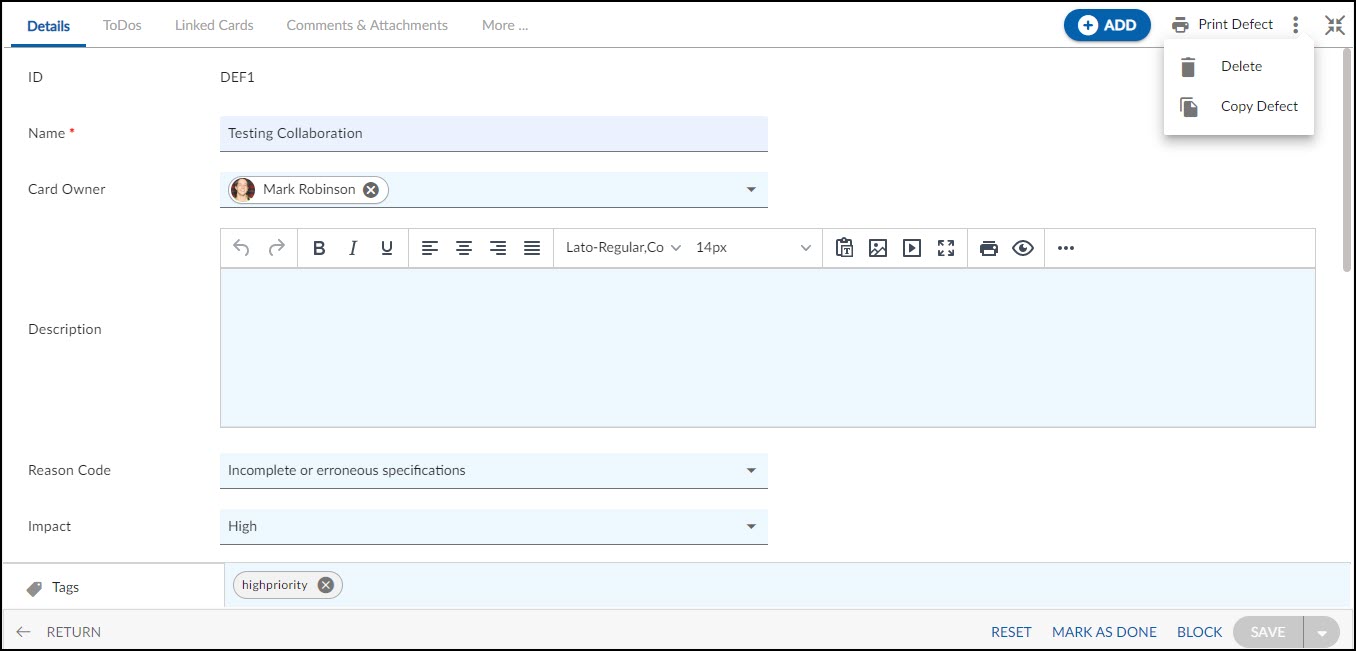
Once the Defect gets created, then the following tabs are visible:
Common Operations to Manage Defects
- Edit
- Multiline Add Item
- Delete
- Export
- Import
- Copy
- Multi Sort
- Log Effort for the Defects (available only for projects which have the ‘Include in Timesheet’ option selected for the Defects Form).