
In this article, we will get to know how to plan, create, and manage releases.
|
Skip Ahead to: |
Overview
Releases help you plan and create your releases, and tag sprints to them. For each project, you can track the progress of each release separately.
Note: The first release is created by default for three months from the current date and at least one release always remains in the Release listings.
Navigation
Navigate to the breadcrumb at the top, hover over the Project name, expand the Plan module, and select Releases.
Creating Releases
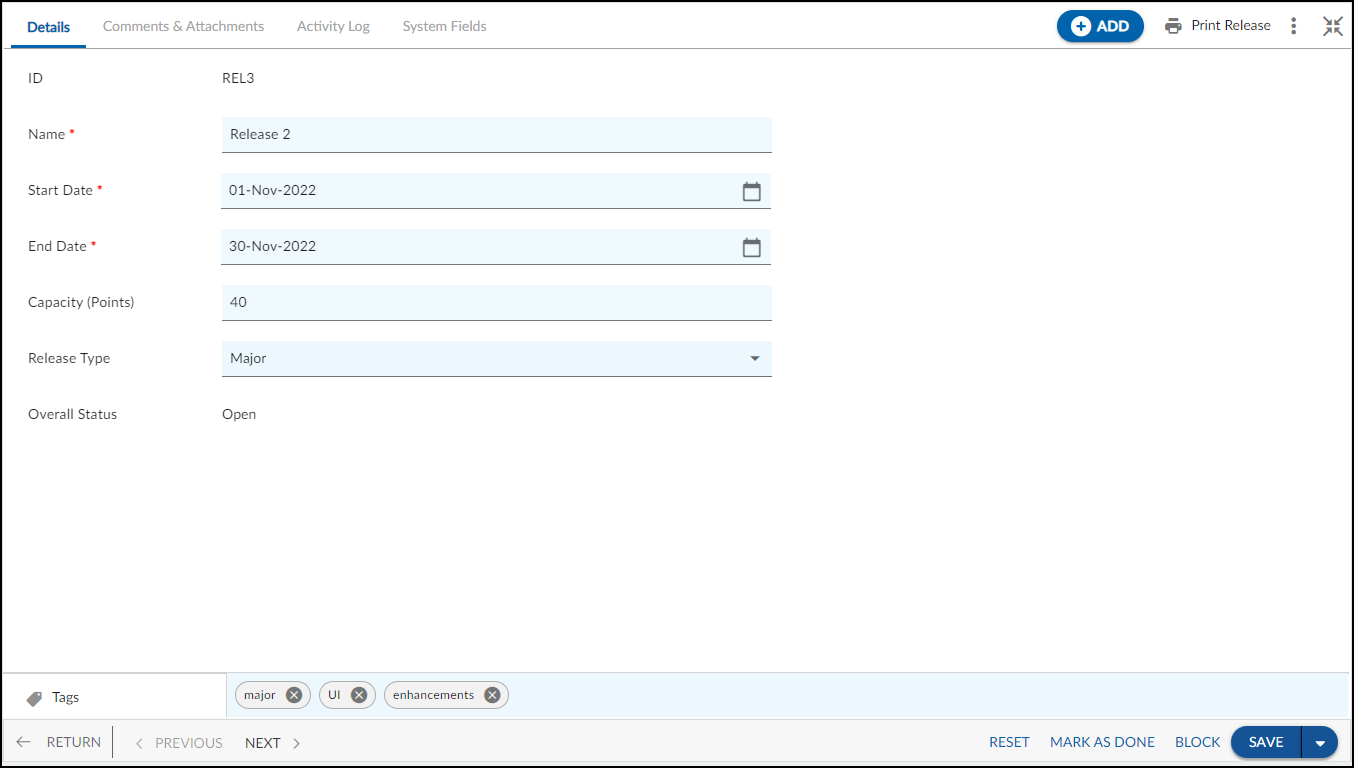
To create a release:
- Click the ADD button.
- Enter the details as explained below:
- Name: Every release must have a logical name. Make sure that the release name should indicate what the release will deliver.
- Release Type: Select the release type i.e., the release will be a patch, minor, or major release.
- Release Date: Select the Start and End Date for the release.
- Capacity: Enter the Capacity for the release in Points which can be used to compare/align the capacity with the user story points/estimates planned for that release.
Note: The Release Capacity should be higher than the sum of its sprints’ capacity. - Size: Select the Size of the release as XS, S, M, L, or XL.
- Sprint: Select the sprint for the release.
- Click the SAVE You can also reset the values, using the RESET button or complete the release, using the MARK AS DONE button. If the release is no longer in use then you can block it, using the BLOCK button.
Other tabs that are visible: