
This article will familiarize you with the overview of the Analytics landing page and the different activities that you can perform. To know about your personal analytics available under the “My Workspace” menu, read here.
|
Skip Ahead to: |
Overview
The Analytics Landing Page shows a summarized view of all the pages, without navigating within each of them. Each page has a face of the page that is the first widget on it. It also gives details about the total number of pages and widgets in the analytics.
You can customize your Analytics by adding or deleting pages, viewing a number of pages and widgets, and arranging the pages as per your requirement. Individual pages are resizable. You can also perform several page activities and widget activities in the analytics.
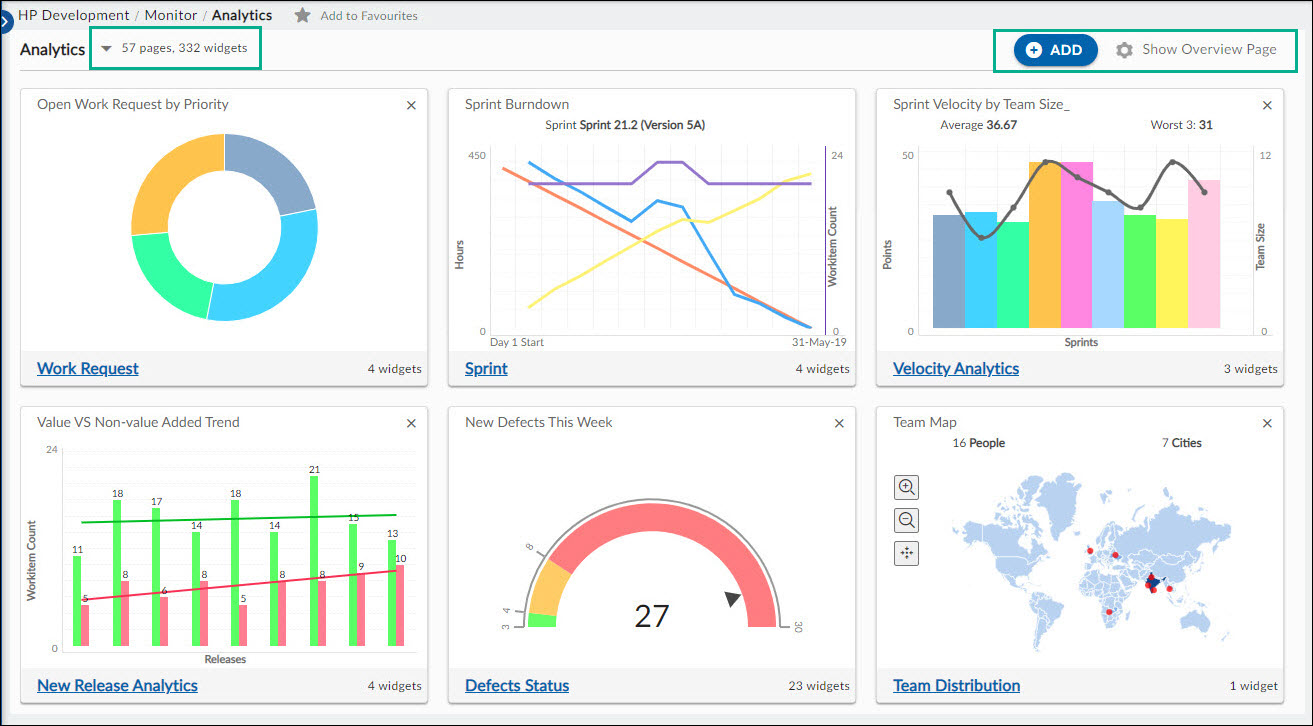
Using the Analytics Landing page you can perform the following activities:
1. Adding and Editing a Page
To add a page from the Analytics landing page, perform the following steps:
- To add a page, click the Add Page icon. A new page is displayed.
- To open the page, double-click it.
- Edit the page name by clicking Untitled Page (in case of a new page) or the page name for an existing page. Type the name and press enter.
2. Show Overview Page
You can navigate to the Analytics landing page from any analytics page by clicking the Show Overview Page icon. If the Show Overview Page toggle is off then you have to set a default analytics page so that when you open the analytics the default Analytics page gets opened instead of the Analytics landing page.
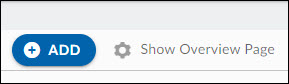
To navigate to the Analytics landing page from within any Analytics page, click the More Options icon on the top-right corner of the page and select the Show Overview Page option from the list. Turn on the Show Overview Page toggle.
To set a default Analytics page, turn off the Show Overview Page toggle and select the analytics page from the Select Default Page drop-down list.
3. Deleting a Page
To delete a page, on the analytics landing page click the Close icon on the page card. Click Delete on the confirmation message.

4. Repositioning Pages
You can rearrange pages on the Analytics as per your choice. To rearrange a page, hover on the page name and as soon as the icon appears, drag it to the required position.
5. Navigating through the Pages
You can navigate to any Analytics page by clicking the down arrow next to the Analytics. To go to a particular analytics page, click the down arrow and select the Analytics page from the list. You will navigate to the respective Analytics page. You can also scroll down the landing page screen to find and click the analytics page directly.
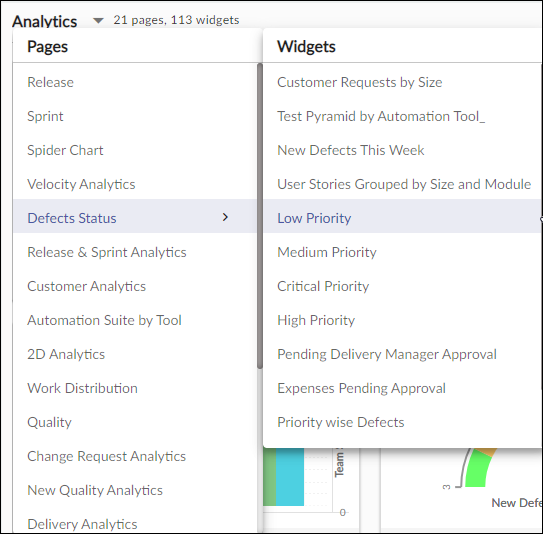
Note: The Analytics pages appear in the list in the order they have been created.
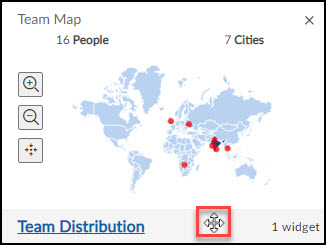
6. Setting the Page Cover
The Analytics landing page has page cards indicating the pages within the analytics. Each of these page cards has a page cover.

To change the Page cover:
- Navigate to the widget (which you want to save as a cover image) within the Analytics page.
- Click the More Options icon and select the Set Cover Image option.
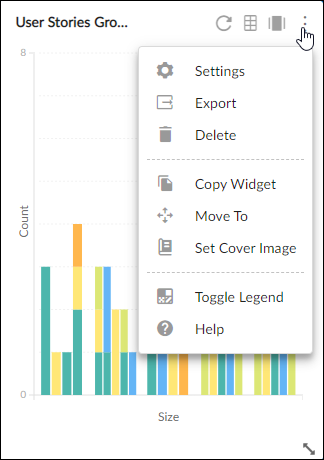
Note: The Set Cover Image option will not be visible for the widget that is already set as the page cover.
6. Deleting Widget
To delete a widget on the Analytics page, click the More Options icon on the top-right corner of the widget and select the Delete option.
7. Refreshing Data on Page
You can refresh the data reflected in the widgets by clicking the Refresh icon on the widget.