
In this article, we will help you to understand how to add and manage users at the Account level.
|
Skip Ahead to: |
Overview
Resources added to the organization need to be categorized and grouped for easy identification and quicker utilization. The resource manager assigns and maintains the resources for projects. It is necessary to add and manage users in the Organization before allocating them to projects as team members.
Navigation
In the left navigation panel, expand the Apps menu, then select Account Space. Hover over the top breadcrumb, expand the People Management module, and select Users.
Steps to Invite Users
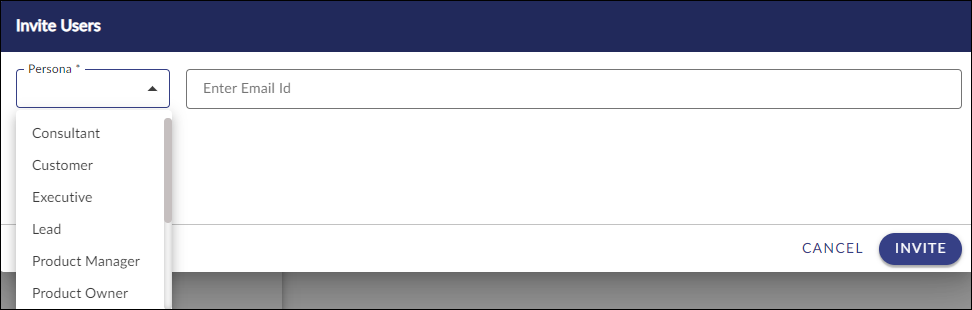
- Click the INVITE USER button.
- In the Invite Users pop-up window, select a Persona and enter the user’s Email ID.
- Click the INVITE button.
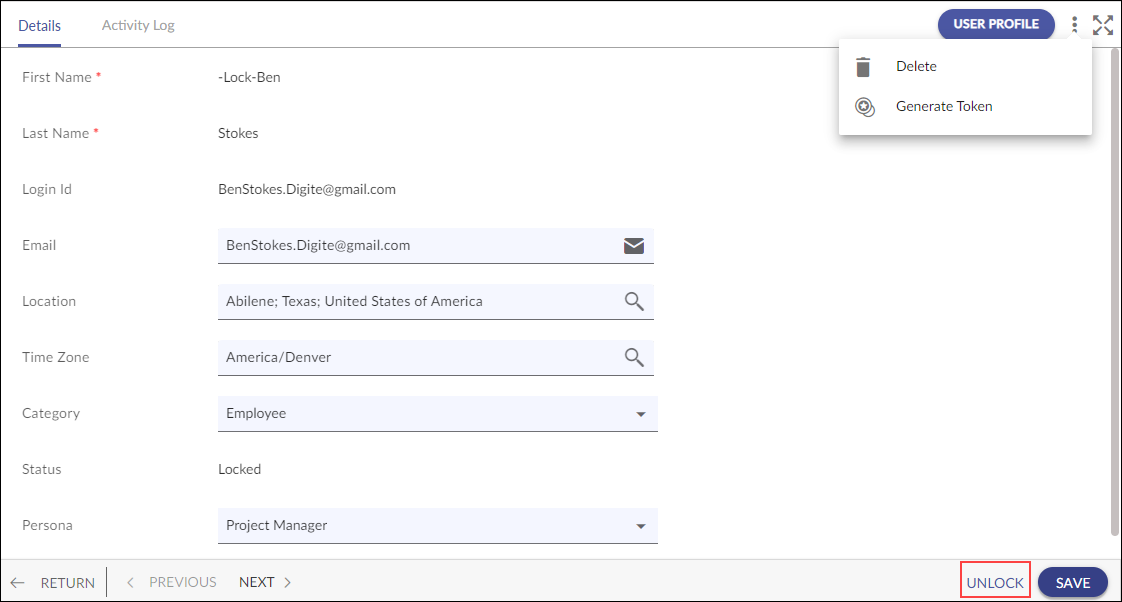
Once the user is created, the Activity log is visible. You can view the user profile page by clicking on the USER PROFILE button on the user Details view page and can access/update the user’s skills and proficiency. To learn more about the user profile, click here.
Steps to Lock a User
To restrict a user from accessing the application in an organization, you can lock a user account. A locked user is unallocated from all the projects in which the user is a team member. You cannot assign a role to a locked user, as a locked user will not be available for assignments and allocations of projects. You need to unlock the user to make the user available for assignments.
To lock a user,
- Click the Lock User icon from the More Options on the user listing page.
- On locking the user, the user’s name is prefixed with the Lock on the User List page. This is reflected throughout the organization, including projects to which the user is allocated.

You cannot lock the only user with the Editor role assigned to a project. An error message is displayed when you try to lock such a user, informing you that the specified user name is the Editor for a project. You need to assign another user with the Editor role and then lock the required user.
Steps to Unlock a User
To unlock users,
- Click the Unlock User icon from the More Options section of the users listing page.
- After being unlocked, the prefix Lock is removed for the unlocked user’s name in the listing of resources and throughout the organization, including the projects to which the user is allocated.
Deleting a User
To delete a user at the account level:
- Select the required user.
- Click the Delete option.
What Happens Next
- If the User is NOT a Timesheet Approver: A confirmation message is displayed: “User will no longer be available.”
- Click Delete to confirm.
- The user is removed from the account.
If the User is Assigned as a Timesheet Approver: If the selected user is assigned as a Timesheet Approver for one or more projects, the system requires reassignment before deletion.
The Reassign Timesheet Approver window is displayed.
In this window:
- A list of projects is shown where the user is assigned as an approver.
- You must select a new approver for each project.
After assigning new approvers:
- Click Update Approver
- Proceed with deleting the user
Note: A user cannot be deleted from the account while assigned as a Timesheet Approver without reassigning their responsibilities.
Reassign Timesheet Approver (If Applicable)
If the user being deleted is configured as a Timesheet Approver for any project, the system will not allow direct deletion.
A Reassign Timesheet Approver window appears, listing all projects where the user is assigned as the approver.
To proceed:
-
For each listed project, select a new Timesheet Approver from the dropdown.
-
After successful reassignment, continue with deleting the user.
Steps to Change the Password for a User
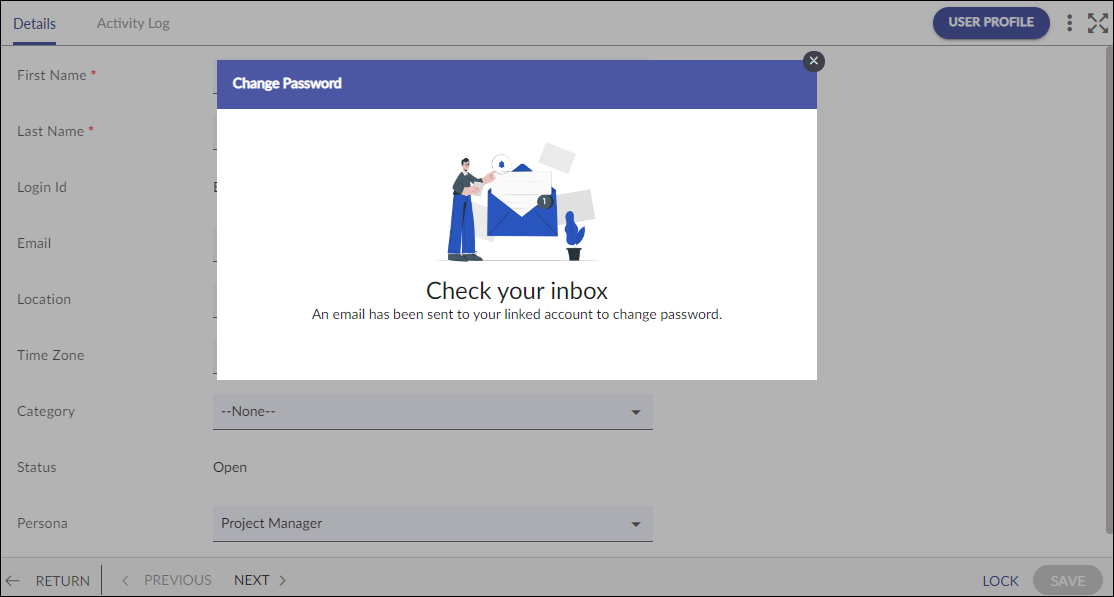
- Once the user is created, click the Change Password icon from the Details view of the following user.
- To change your password, an email has been sent to your linked account to change your password.
- Check your mail. Type the new password and then retype the password to confirm, and click the SAVE button.
- The new password is updated and will be applicable for subsequent logins.
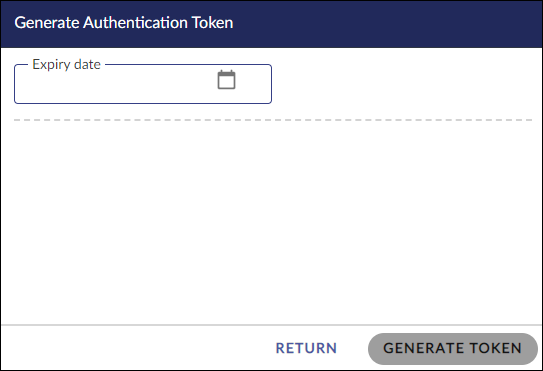
Generate Token
To get the authorization token from the application, perform the following steps:
- Go to the Details view of any Team Member.
- From the More Options, select the GENERATE TOKEN icon.
- In the Generate Authentication Tokens window, enter the date in the Expiry Date field. Note: Once that specified date is over, you will again have to generate a new token.
Note: You can generate as many tokens as you want, but once you create a token and close the window, you won’t be able to see it again on the screen.