

Microsoft Team Integration is a part of Office 365 that lets you schedule meetings, create channels, chat with teams, collaborate and work together, and work on different documents inside the app.
You can add the Nimble Connector to any of your channels in Microsoft Teams to access your Nimble account and perform several activities using the product commands available in MS Teams.
For example, you can add comments using the Comment command, tags on a card using the Tag command, move a card from one column to another column on Execution Board using the Move Card command and view the details of a workitem in a separate tab using the View in Nimble command.
These commands help you perform the operations directly from MS Teams without going to the application. So, it is quite advantageous for users who are using both MS Teams and the application app as they can now manage their application account and perform various workitem operations from MS Teams itself. It will not only save them time but also provide an easier and faster way to work with the product.
To see the end-to-end process of the application integration with MS Teams, click here
Navigation
In the left navigation panel, expand the Workspace menu and select My Workspace. Hover over the My Workspace breadcrumb at the top, expand the Setup module, and select Integration.
How to Integrate Nimble with MS Teams
- Sign into Microsoft Teams and open a channel of your choice.
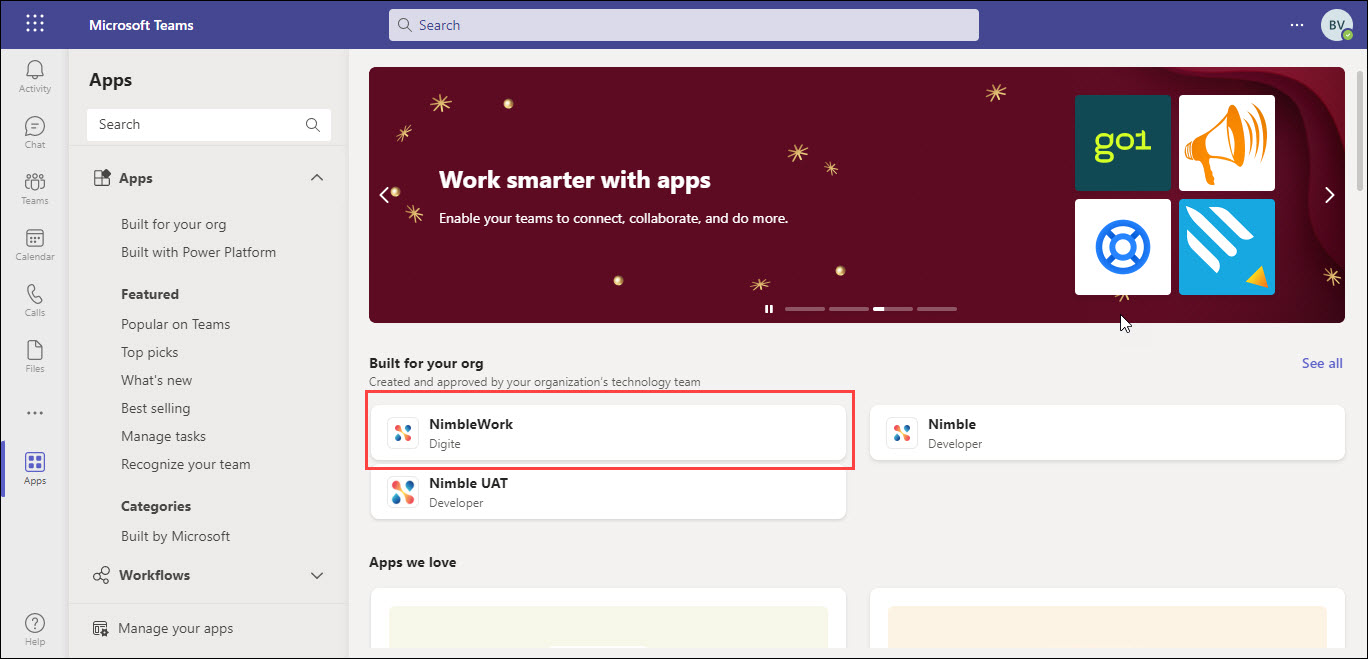
- In the left toolbar, click the Apps icon.
- In the app window, typeNimble in the Search bar and select it from the list of apps given below.
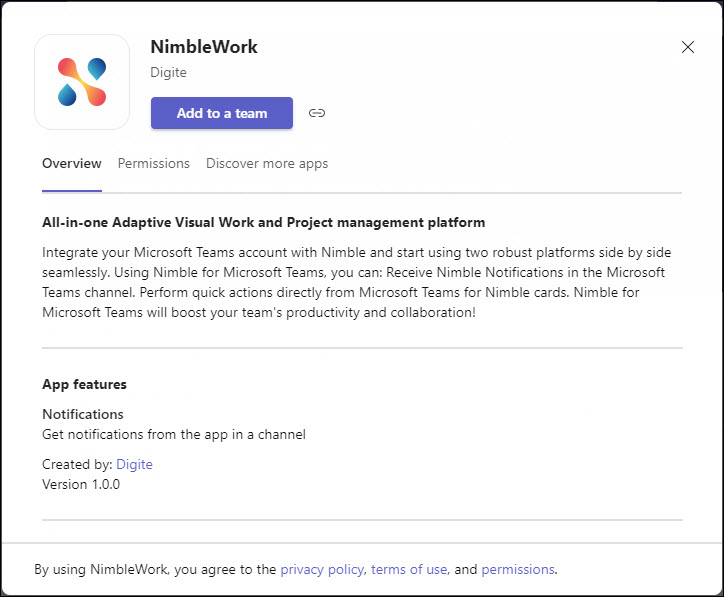
- Click Add to a Team button.
- Select the required MS Teams channel where you want to add the Nimble connector.
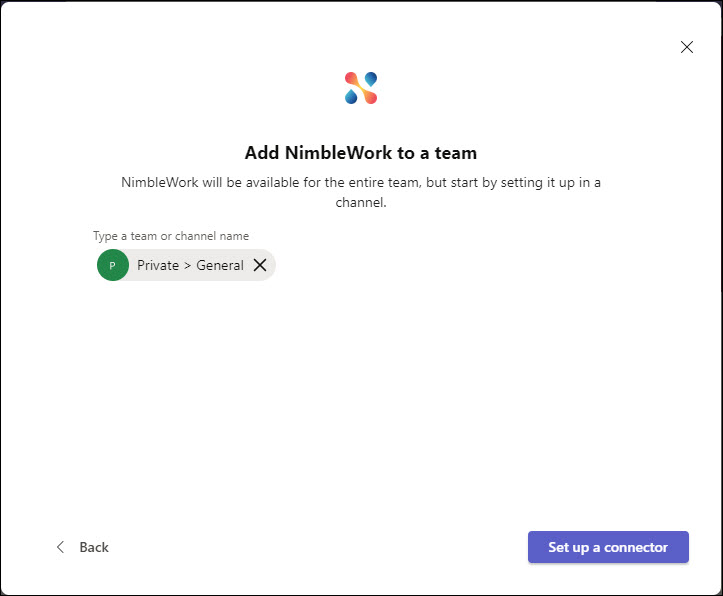
- Click the Set up a connector button.
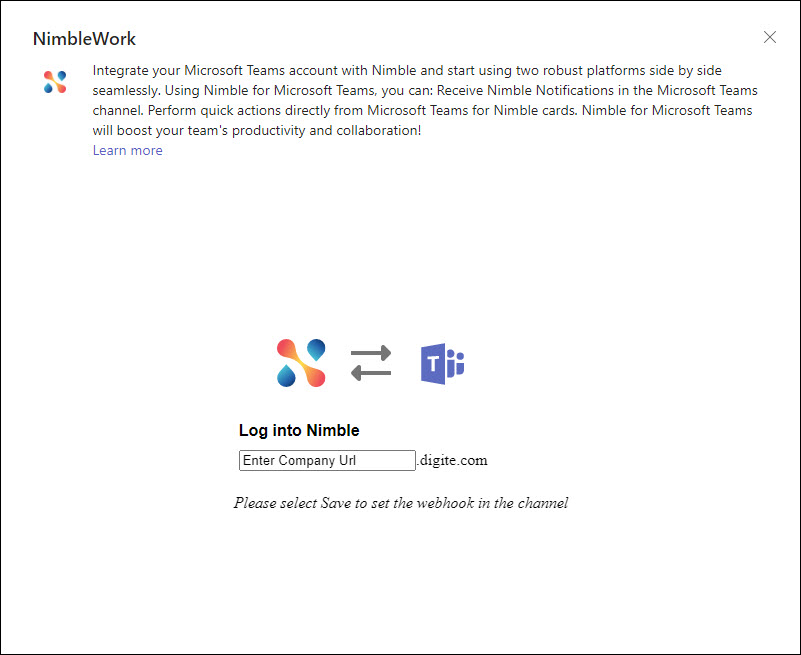
- Enter the company URL and click the Save button. Please note, You need to copy the initial part of the URL (before the company domain name) from the Login screen. For example, if the following is the URL of your Nimble account, then you need to copy only the content-team.uat part to be provided in the Teams.
https://content-team.uat.Robinson.com/Robinson/Request?Key=login - The Nimble login page appears (if you are not already logged in to your Nimble account).
- Enter the Login ID and password to log into the Nimble Account. If you are already logged in, the Nimble login page doesn’t appear and you directly see the MS Teams page.
- A notification is shown in the channel to show that you have added the Nimble connector to your channel.

Now, you are all set to access your Nimble account from MS Teams.
How to get Notifications from Nimble in MS Teams
The NImble connectors allow you to get notifications from the NImble for a particular action/trigger set in the NImble. You can get these notifications in your team channel. For example, you can get a notification for creating/editing/deleting/moving a card. These notification triggers are the same as project notifications as mentioned here.
To get a notification from Nimble to MS Teams –
- Open the project for which you want to get notifications.
- Click the Notifications icon at the top-right of the screen. The Notification pane appears.
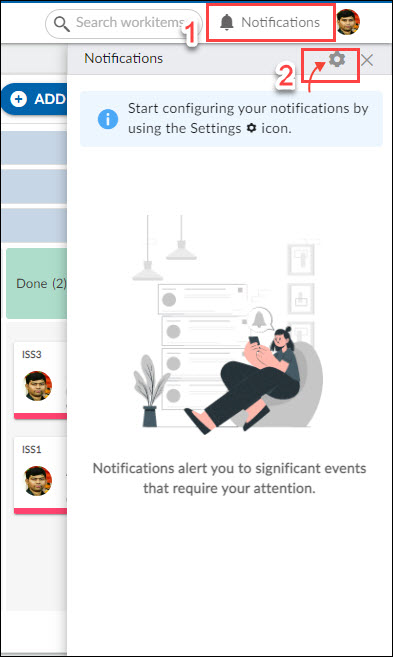
- >Click the Settings icon. The Notification page appears.

- Click the ADD button to add a new notification.
- Select the required information.
Project >- Select the project for which you want to set the notifications.
Workitem Type – Select the workitem type like User Story, Action Item, etc.
Trigger – Select the workitem event to trigger the notification such as adding a new workitem, modifying a workitem, routing a workitem, and so on. Read the list of triggers here. Frequency – Select the frequency when you want to receive the notifications in the Teams channel like on an event, daily, weekly or monthly.
Teams – select the MS Teams channel in which you want to receive the project notifications from NImble. - Click the SAVE button. Notifications are set. You will receive a notification when the set event takes place in the Nimble.
How to Perform Card Operations From MS Teams
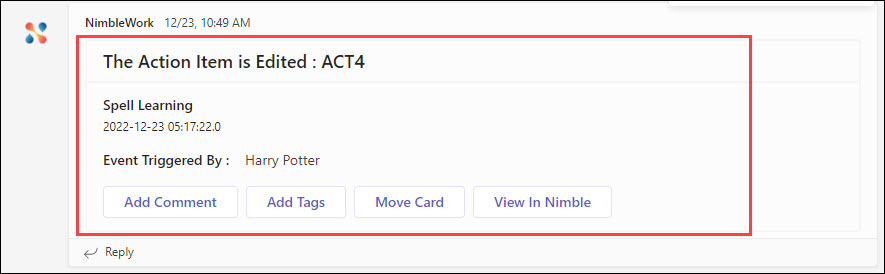
There are 4 types of card operations that you can perform on a card from the MS Teams channel. You can perform these 4 card operations from your MS Teams channel on a card only if that card is notified in your Teams channel from Nimble. If you don’t receive a notification on a card, then you can’t perform the 4 operations on that card.
- Add a comment on a card
- Add a tag on a card
- >Move a card from one column to another
- View a card in Nimble
To perform any application command in MS Teams, perform the following steps –
Add comment
Perform the given steps to add a comment on a card from MS Teams.
- Click the Add Comment button on the required workitem in the MS Teams channel.
- Add the required comment. Note– you cannot mention a team member in your comment.
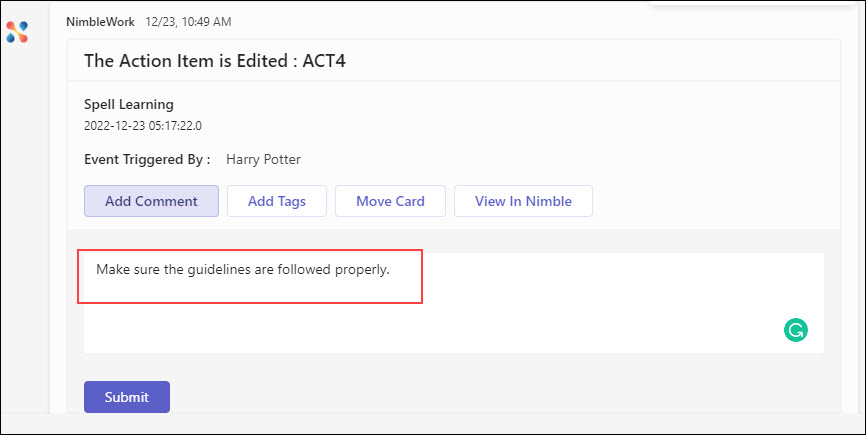
- Click the Submit button.
Add tag
Perform the given steps to add a tag on a card from MS Teams.
- Click the Add Tags button on the required workitem in the MS Teams channel.
- Add the required tag(s).
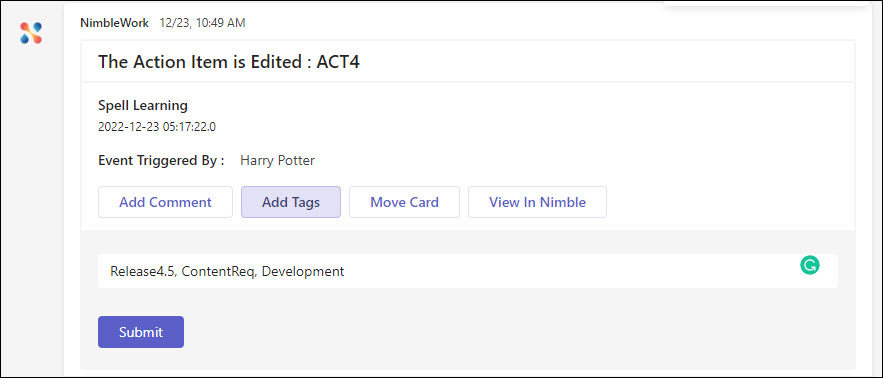
- Click the Submit button.
Move Card
Perform the given steps to move to another column from MS Teams.
- Click the Move Card button on the required workitem in the MS Teams channel.
- Select the column to which you want to move your card.
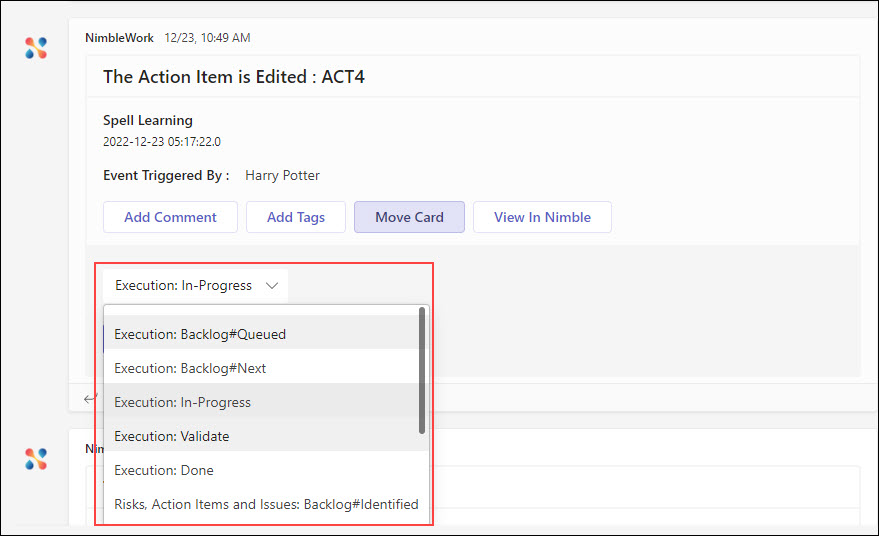
- Click the Submit button.
View in Nimble
You can open a workitem in Nimble in a separate tab directly from the Nimble.
How to Remove Nimble Connector from MS Teams
To uninstall the NImble connector from MS Teams, perform the following steps-
- Click on the three dots next to the channel name where you want to stop the notifications and click Connectors.
- From the left panel, click on Configured.
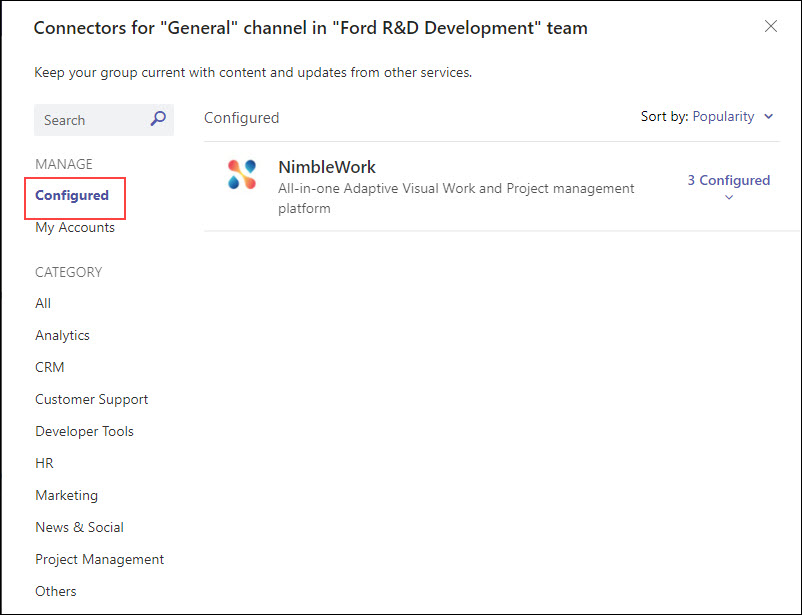
- Expand Configured section drop-down
- Click on theManage> button next to the notification you configured.
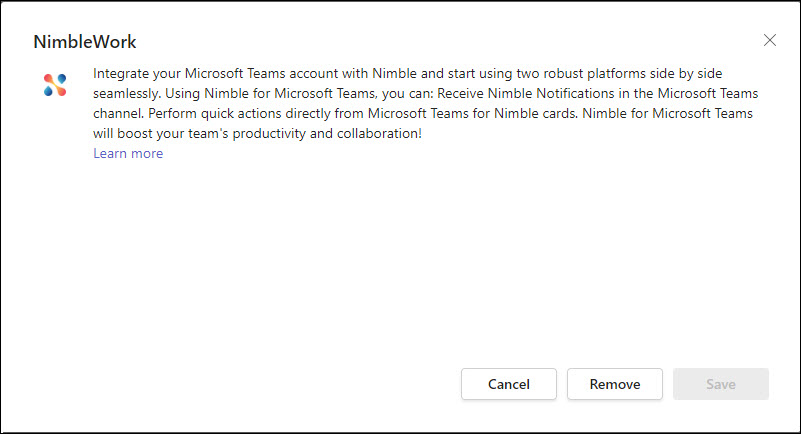
- Click the Remove button.>
- Repeat this step for all configured notifications and channels.